
STEP 9 - SET UP CANUMEET
Many stores use canUmeet for their store party bookings. If you want to look into alternatives you can, but it's the one we recommend for stores to use, and the one the support staff know how to use.
This tutorial is part of a longer tutorial that also goes over using your google calendar. To see the full tutorial go here: CanUmeet Guide to Automated Birthday Party Bookings
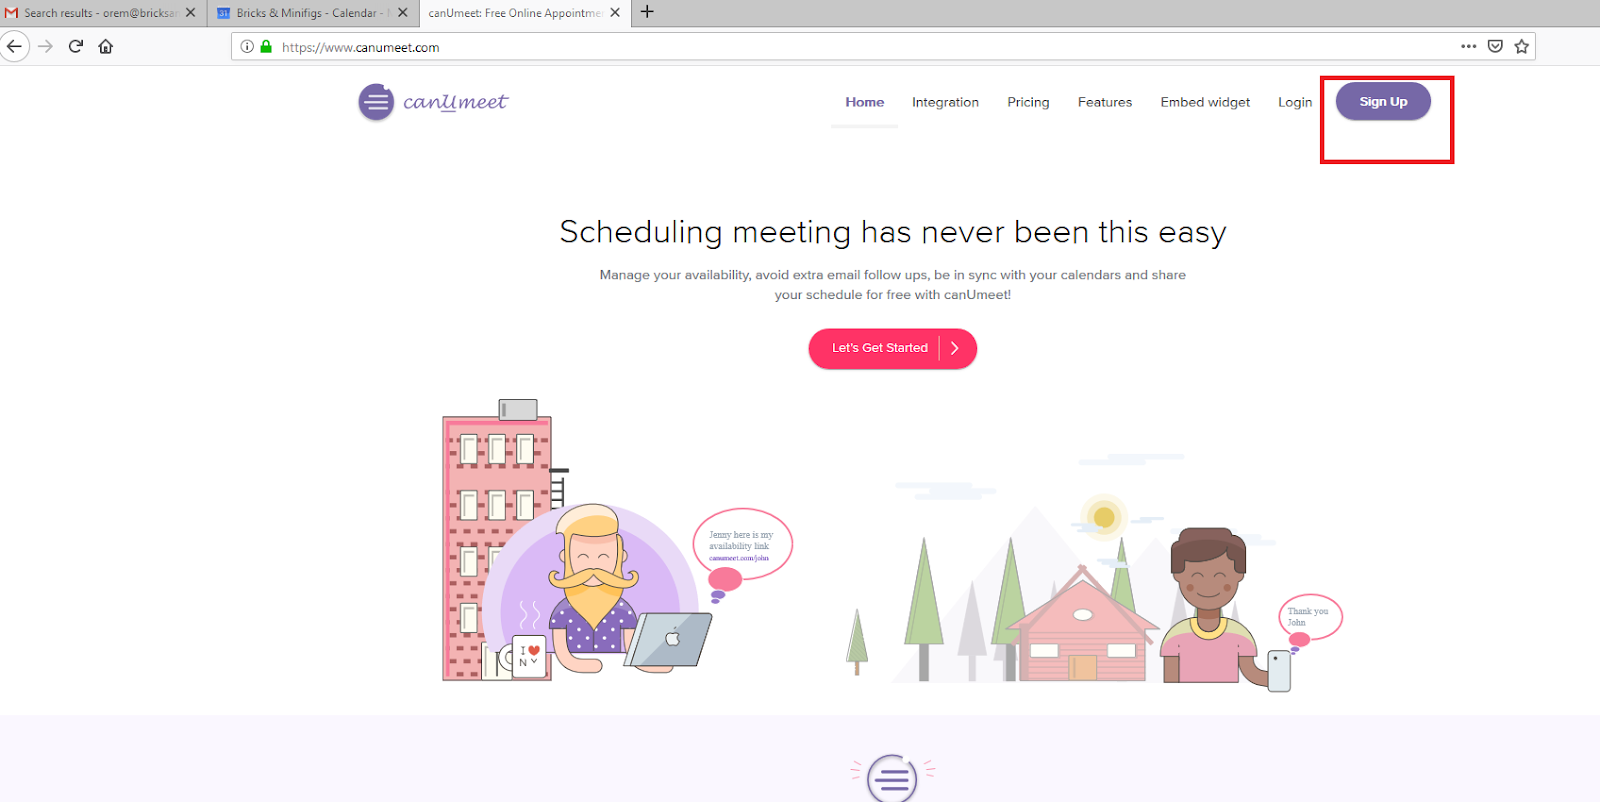
Go to Canumeet.com and click on “Sign Up” in the top right corner (big purple button).
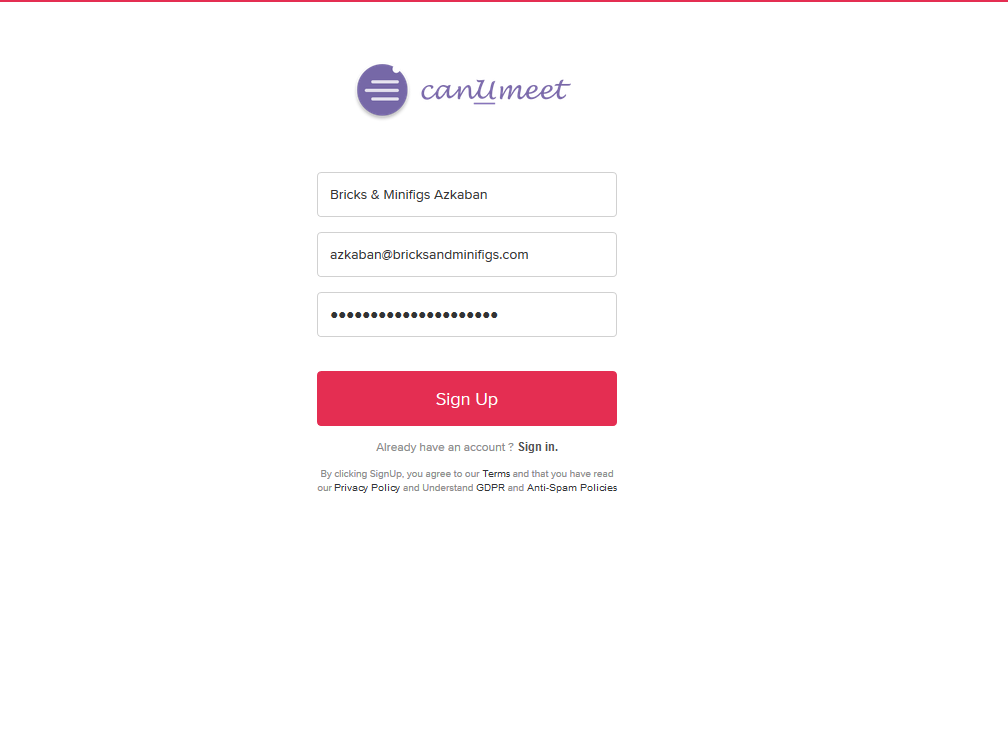
From there you will need to fill out your store’s name, and email then create a password for the site, such as:
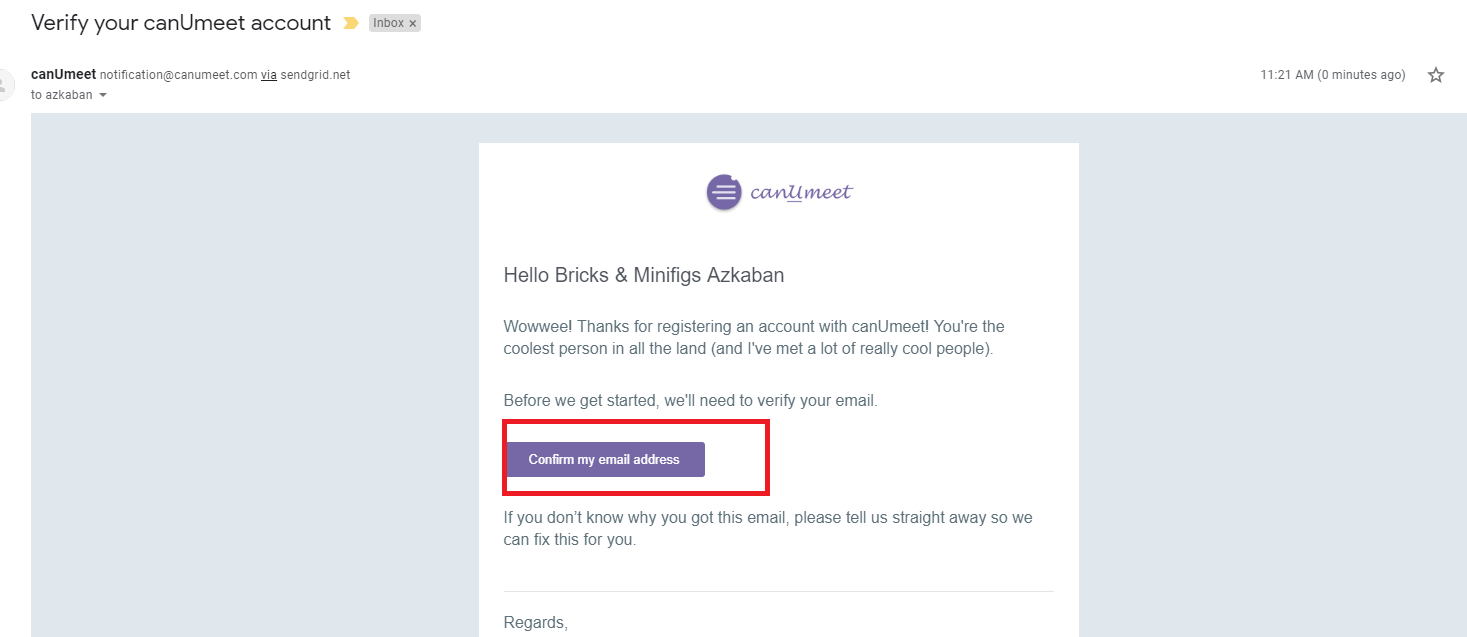
Once you click on Sign Up, you will need to verify your email. Canumeet will send an email to you, and you will need to click on the purple confirm button in the email.
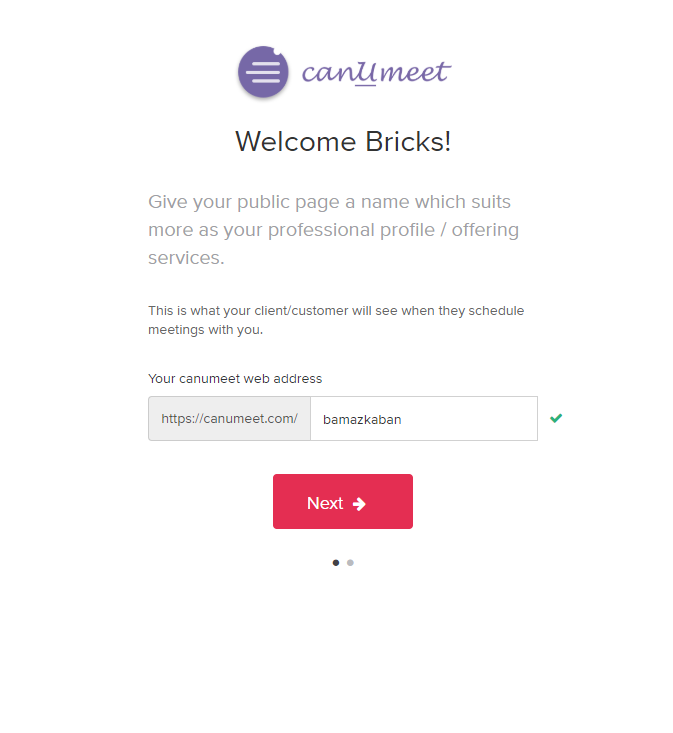
Once you click on the button you will be pulled to a page that asks you to give yourself a public page name.
This will be the name that people see when they book their parties, so I would recommend using your store's name such as bamorem, bamplano or bamazkaban, etc…
Next, select your correct timezone and click on “Finish”
Next, you will see a page that looks like this:
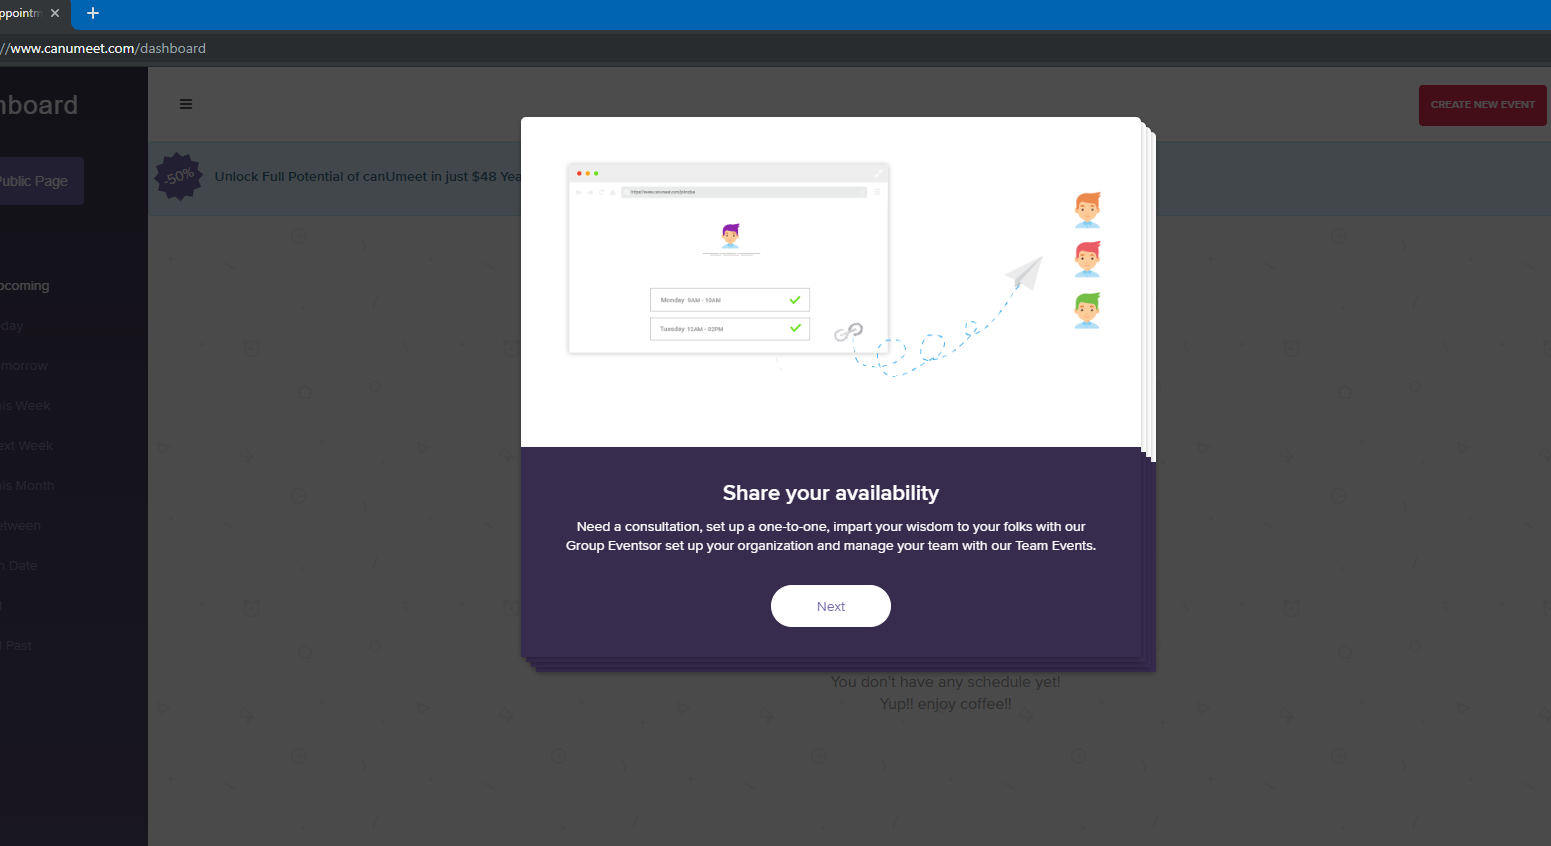
Go ahead and click through all the “Next” Buttons. You will then see this page:
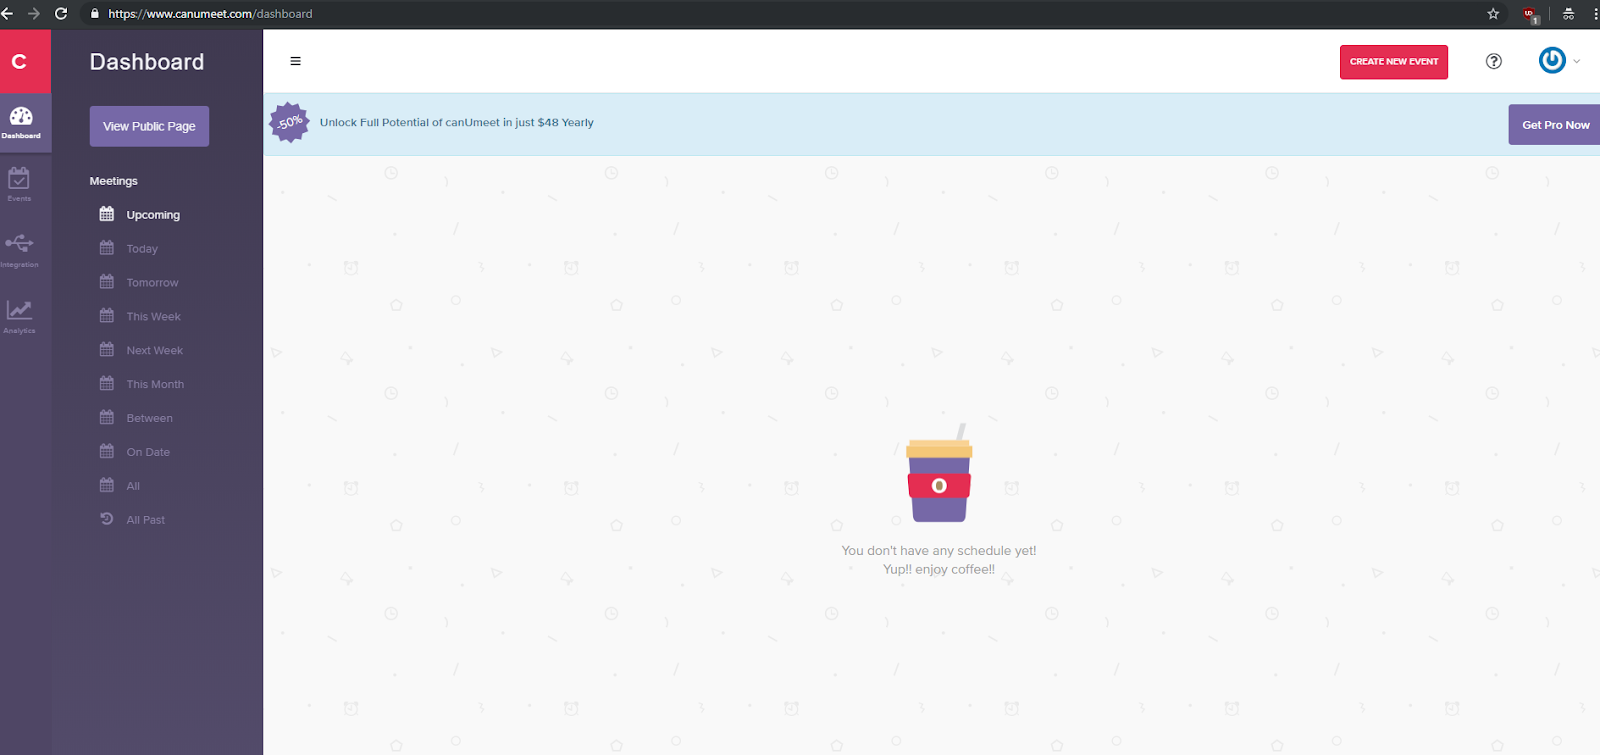
This is your home page where you will be able to see upcoming events you have planned and currently since you don’t have anything connected, you won’t see anything.
It is now time to go on to step 3 to create your birthday parties.
Step 3: Creating Your Birthday Party Packages
To see a final example of what the customer will see after you fill out the information, you can go to canumeet.com/bamorem and you can see how the Orem store has set up its birthday parties, and how the process works for booking one.
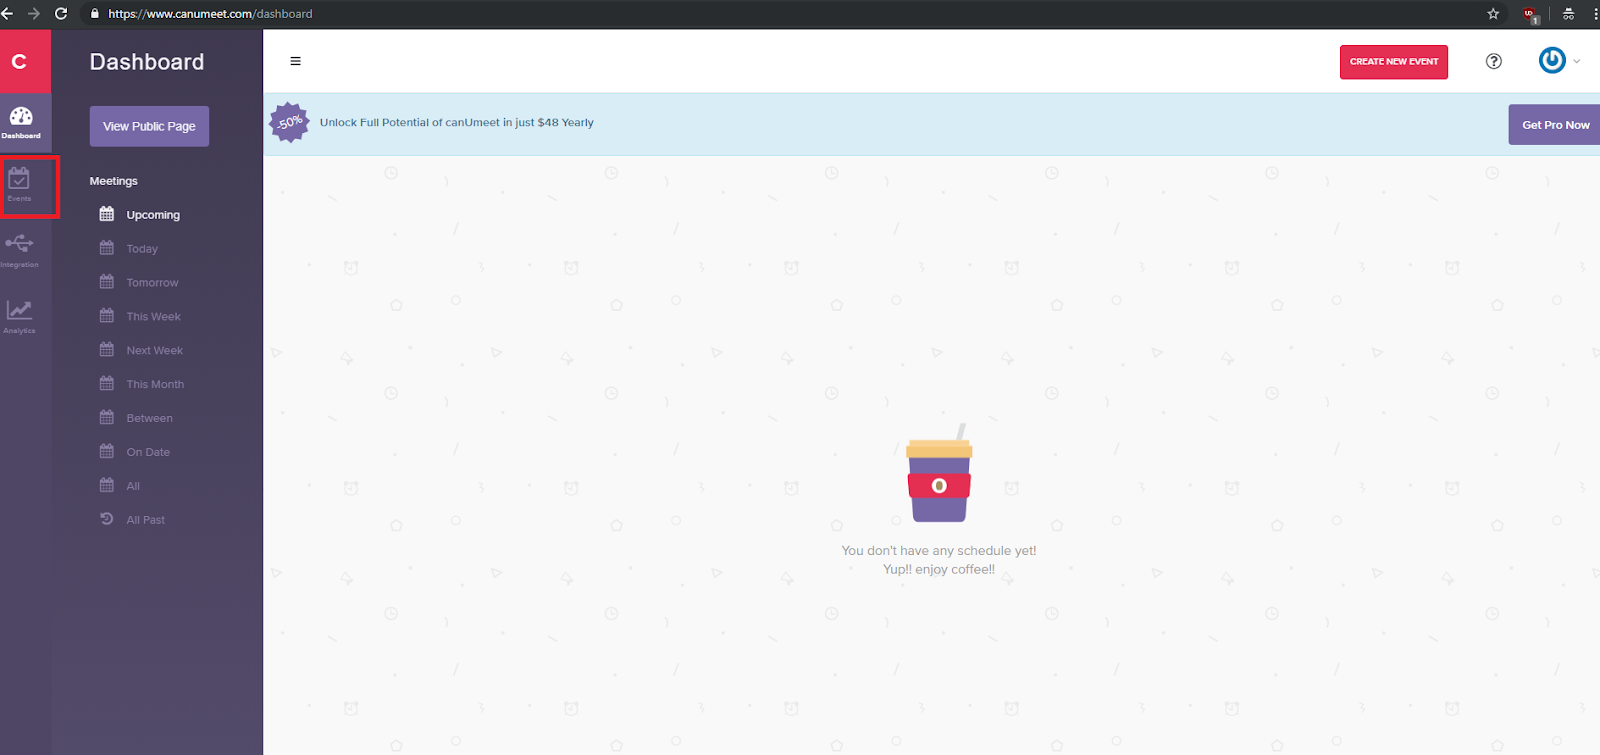
Once you are logged into Canumeet, go ahead and click on the button on the left-hand side that says events:
That will take you to a page that looks like this:
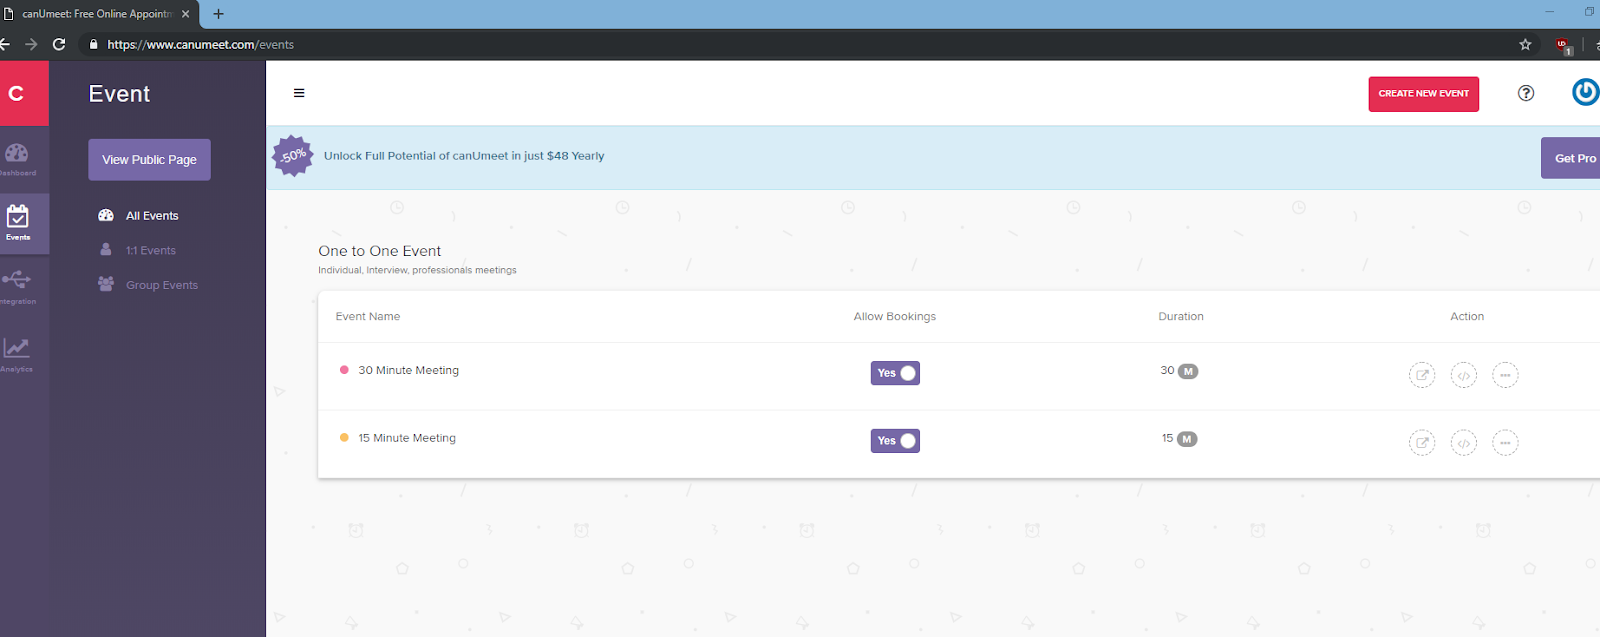
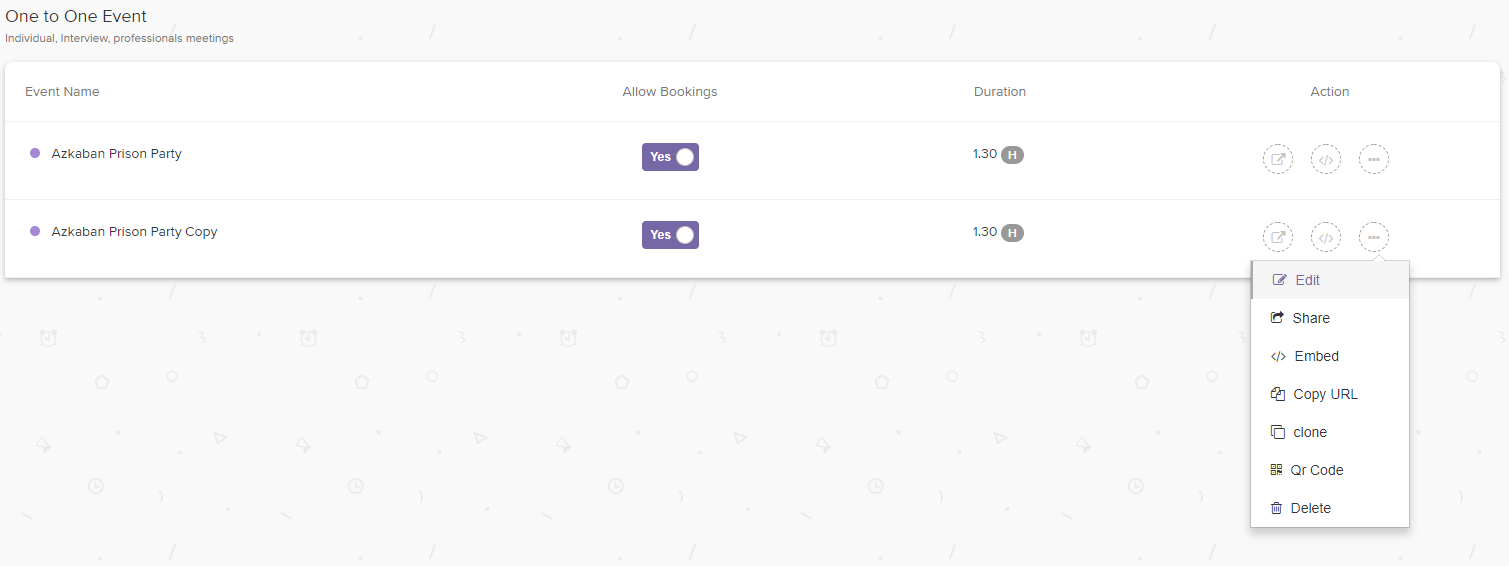
Go ahead and click on the dotted circle with the 3 dots at the end of each of the two listed events, and delete those two pre-filled events.
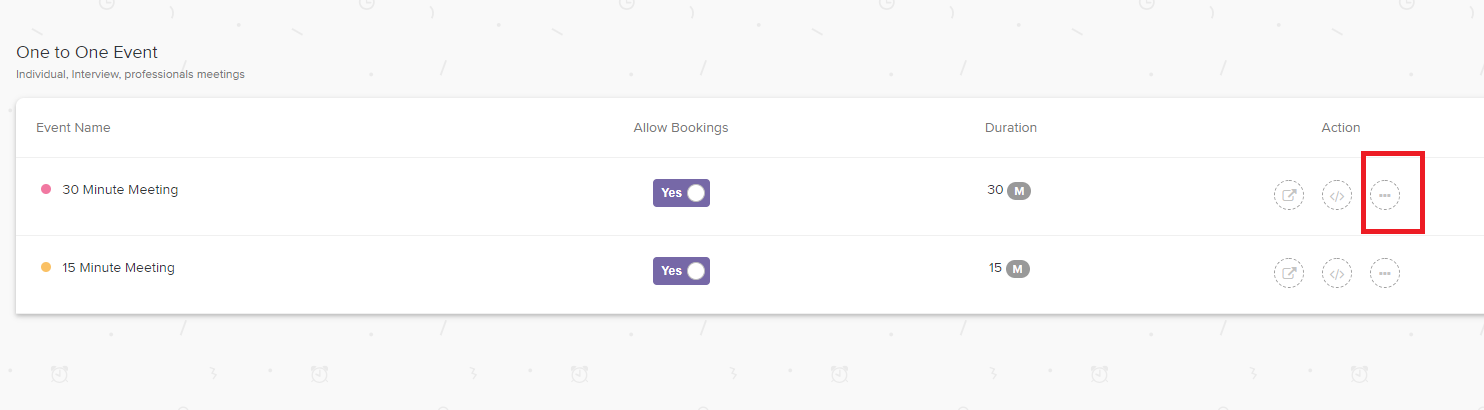
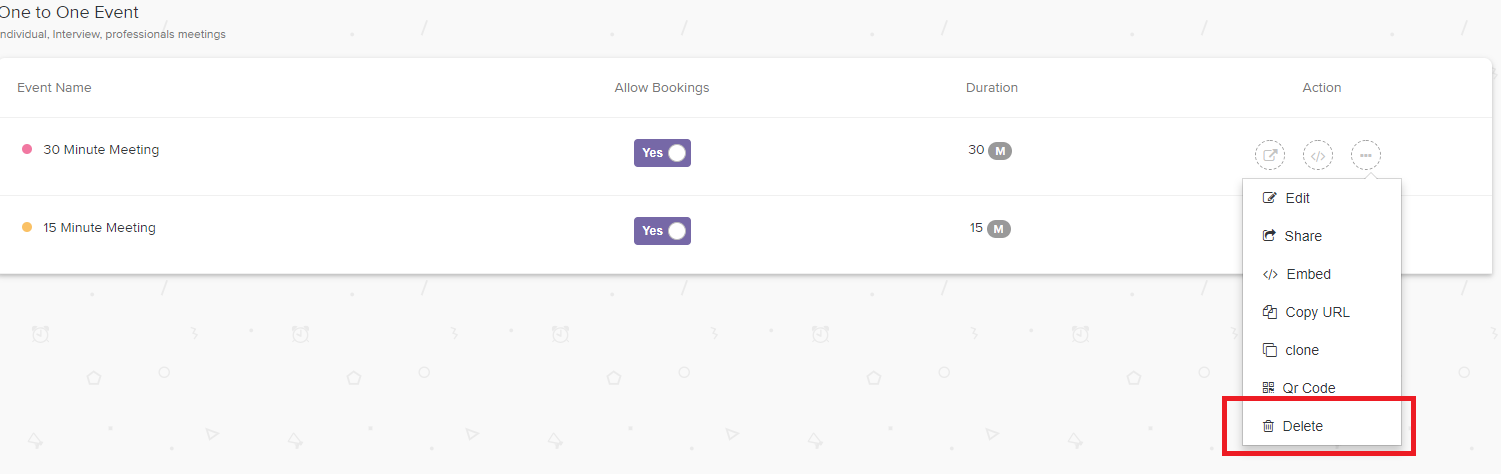
Then click on the Red button near the top right that says “Create New Event”
This is where you will fill out all the information for your birthday parties.
You want the event to be public
You want it to be a one-to-one (NOT GROUP) event
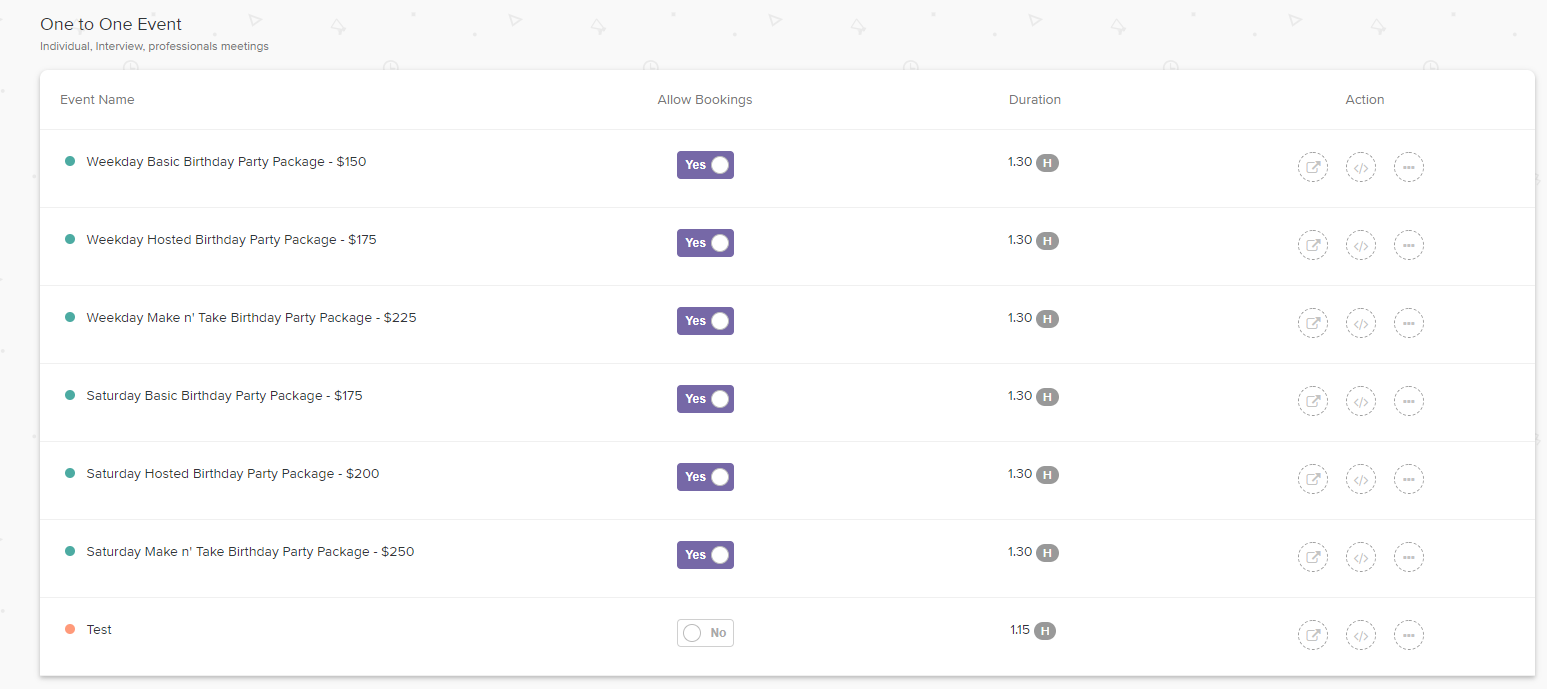
The event name can be something like “Weekday Basic Birthday Party Package - $150”
Fill in the correct time (notice that it goes by the number of hours and the number of minutes)
Location is your address
Description: This is where you would describe the event and what will take place, any rules, etc… There is a word limit. If you would like to see what I put in as a descriptor for each of our parties, feel free to look again at the Orem page canumeet.com/bamorem
You don’t need to worry about the Event Color or Event Link
On availability, you can turn each day on or off - that is useful if you have a separate price for weekdays versus weekends.
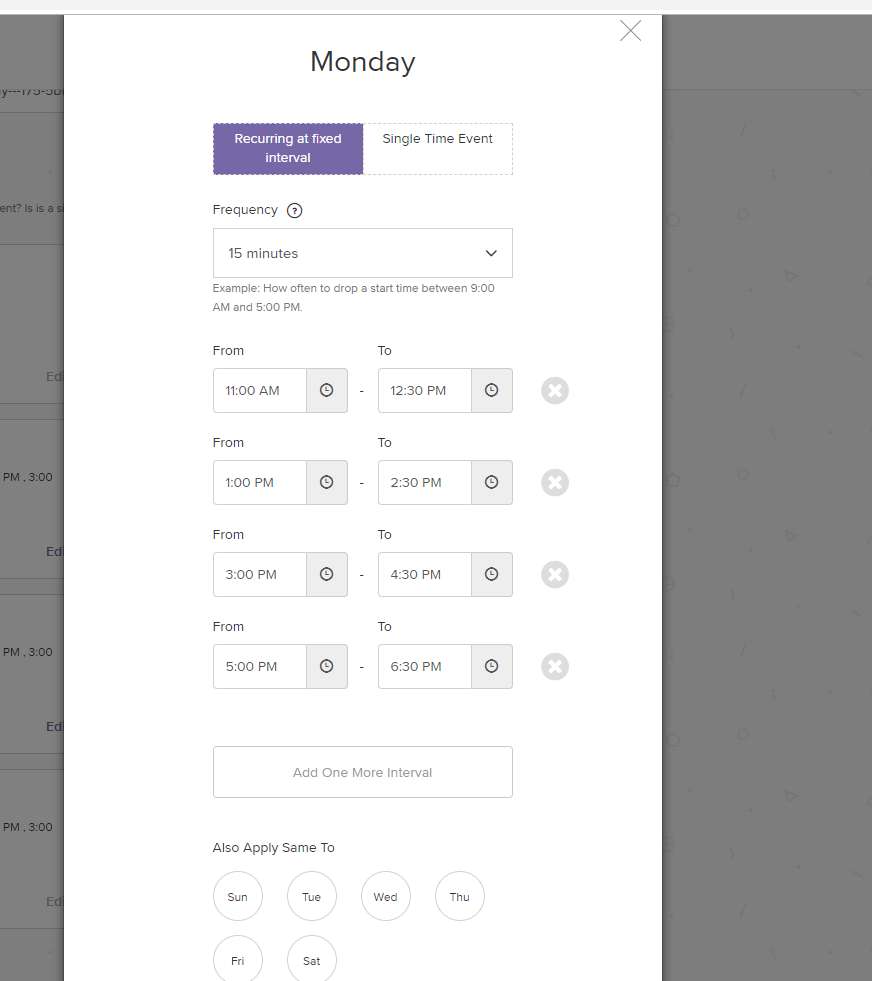
If you have the same birthday party time slots each day (i.e. 11-12:30, 1 - 2:30, 3 - 4:30, and 5 - 6:30), then you only need to put them into one day, at the bottom of the day there is a button that says “Also Apply Same to” with circles for each of the rest of the week. You can select which days you want to replicate those time slots (see the photo below)
Now scroll down to the advanced settings, here you can control things like if you want to allow them to cancel/reschedule events they have booked, and what kind of message they will receive after booking, etc… Many of the features in the advanced settings and reminder sections are only available with the Pro version (which currently only costs $48 for a year) including the ability to customize the email notifications they will receive. I believe that it is worth the $48, but that is up to you.
The pricing and fees we will set up afterward.
If you have paid for the pro version, you can customize the emails that are sent when someone books, cancels or reschedules a party. The advantage is you can change it from the default “Hi (person’s name),
Your 1.5-hour meeting (name of your event) with BAM Orem has been confirmed at 5:00 PM on 5/5/2019”
To say something instead such as Hi (person’s name),
Your 1.5-hour birthday party with BAM Orem has been scheduled for 5:00 pm on 5/5/2019. We are excited to see you there, please let us know if you have any questions. Or whatever you want it to say.
Once you have all the options filled out, you can click on the red Save button at the bottom of the screen and you will now see that event is populated on your events page.
Now the next step is to go through and put in all your party packages BUT IT IS MUCH EASIER THIS TIME AROUND. This time instead of creating a new event, click on the dashed circle with the three dots inside it on the party package you just created, and then click on “clone.”
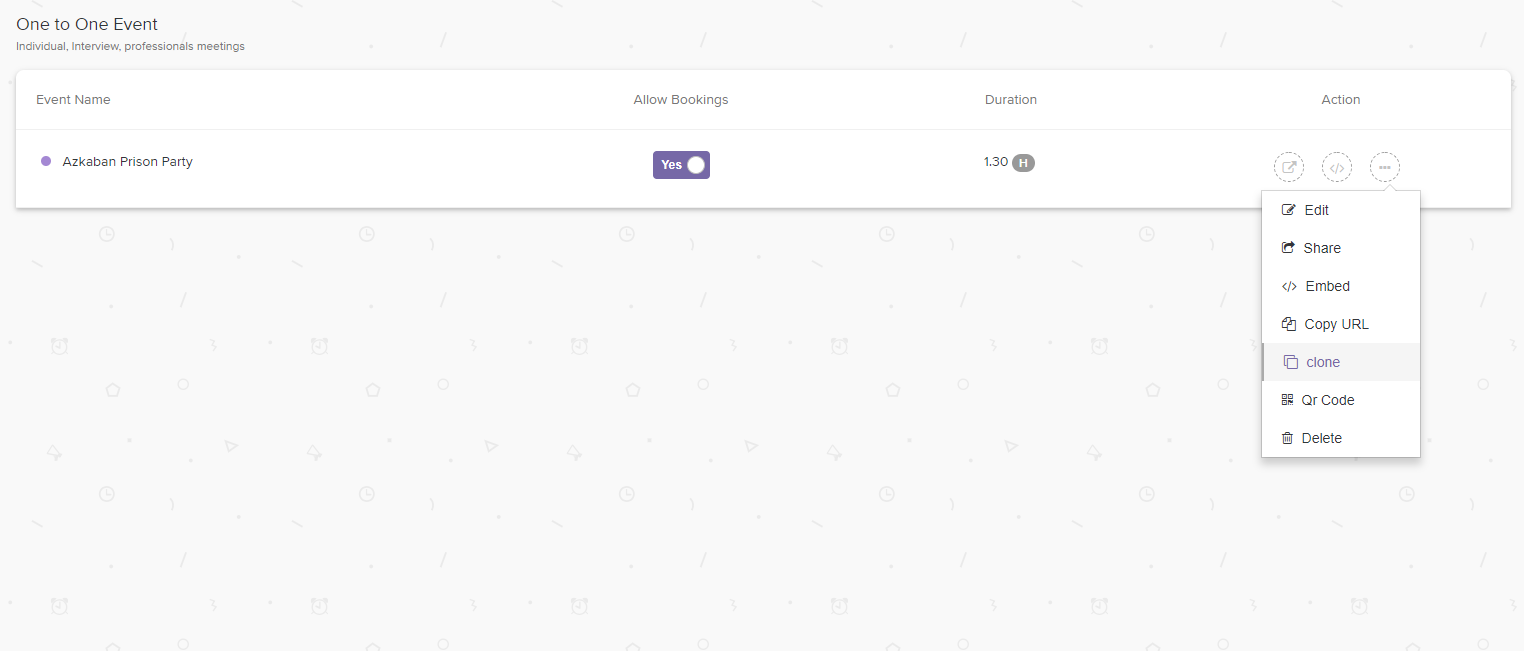
This will produce a copy of the first event, which you can now go into and edit - so that you don’t have to retype and put in all the info you did on the first one. Change the title, change any details in the description, which days you can book that package, etc…
Then once you have completed and saved your next party package, you can clone that one and do your next party package - until you have listed all your possible variations on birthday party bookings and your page should look something like this:
Step 4: Integration
Integration is fairly simple. Click on the link on the left that says Integration.
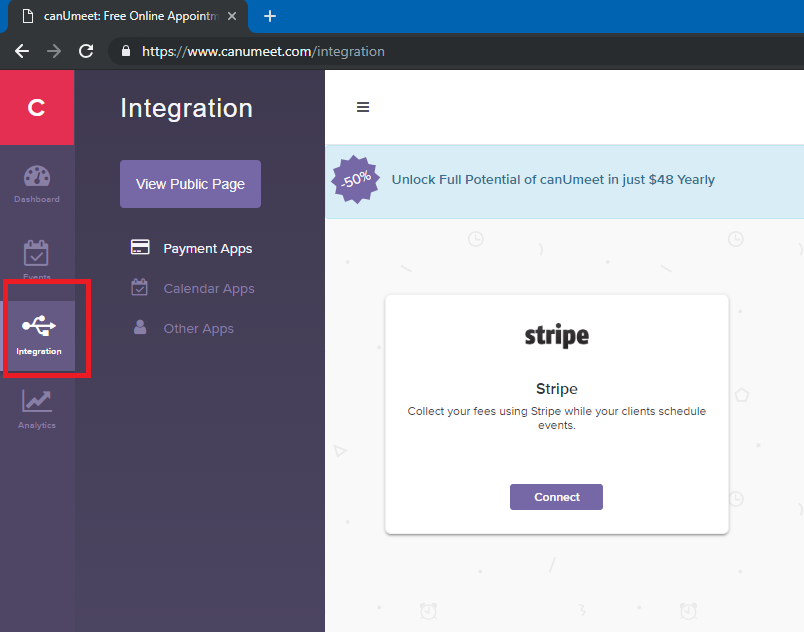
If you are planning on using Stripe to collect a payment, then you will need to click Connect underneath Stripe and follow the directions it gives to sign up for Stripe.
Next just to the right of the Integration button, click where it says Calendar Apps
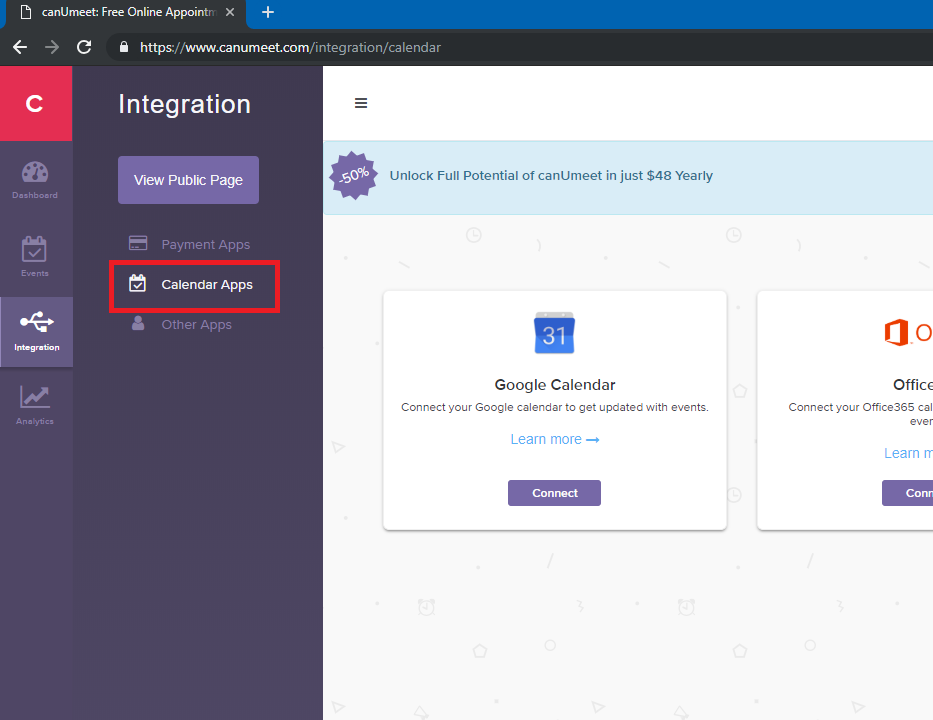
Under where it says Google Calendar, click on Connect.
Click Yes if you want to allow it to access your calendar
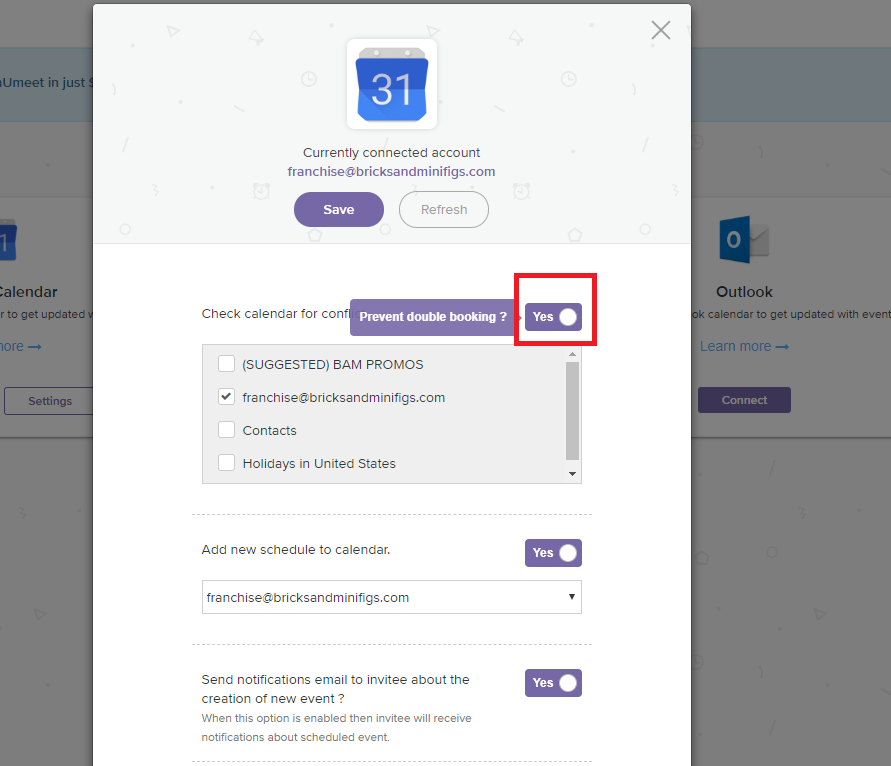
Then you need to switch “Check for Conflict” to “Yes” from No otherwise, the system will not check your calendar to make sure that the space is available to book a meeting.
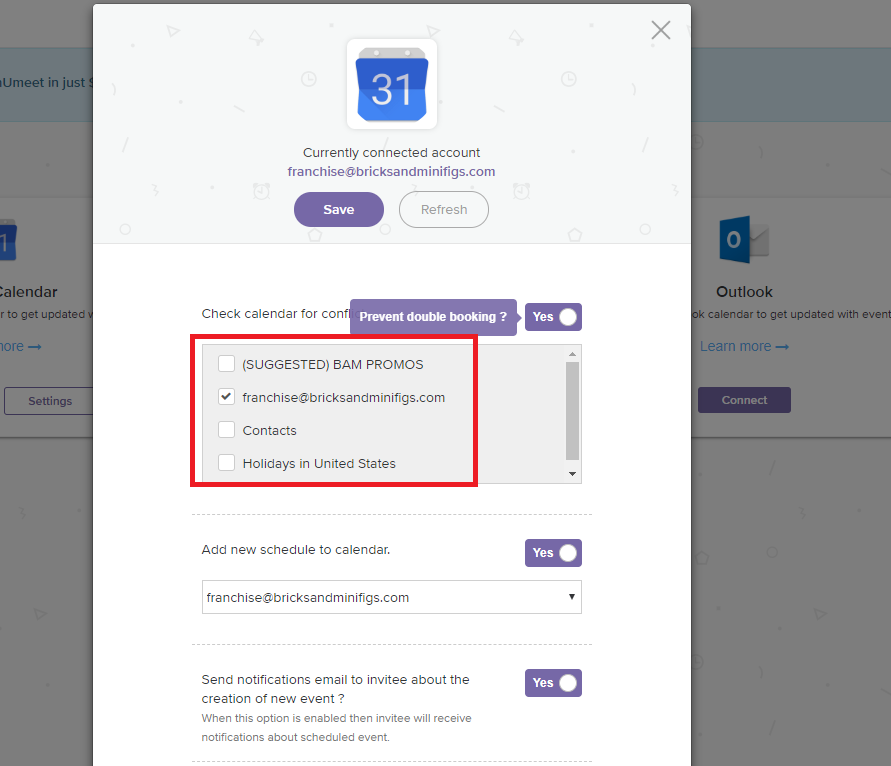
Then you need to make sure that your store calendar (or whatever calendar you are putting birthday parties and events on) is selected as a calendar it will check for conflicts on
You can leave the rest of the settings on “Yes” and then click on “Save” at the top and you have then integrated Canumeet with your calendar.
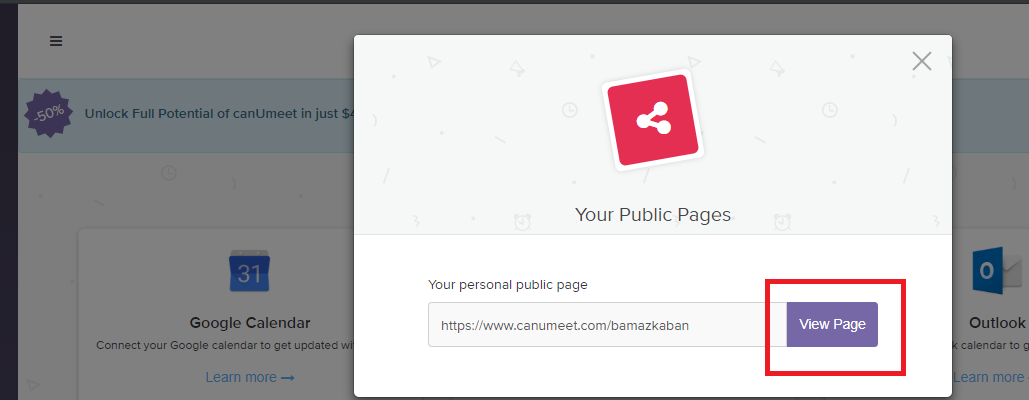
Now if you want to double-check to make sure that it is syncing with your calendar, click on the purple button near the top left that says “ View Public Page” which shows you the URL for your booking page, but then you can click on “View Page” again and it will take you to the page your customers will see when they are booking their parties, so it should look something like this:
To
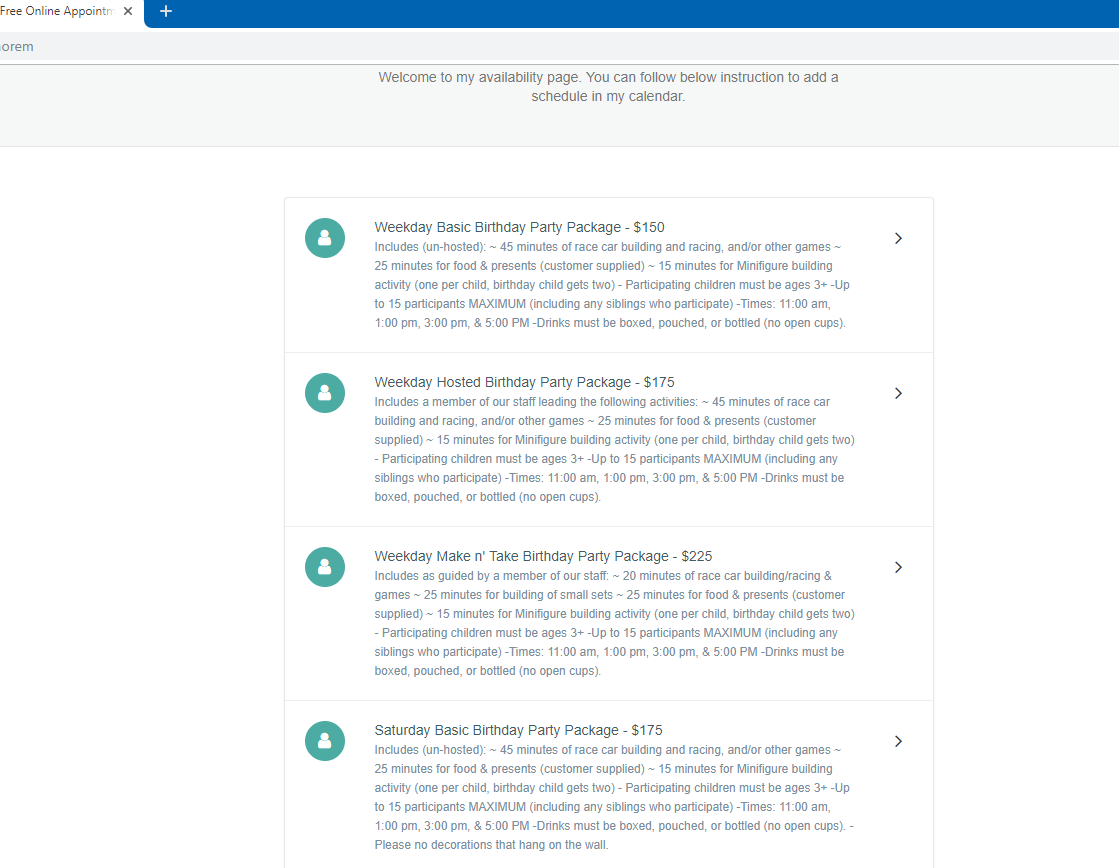
You should be able to walk through booking a party, and you should notice that if there were any prior events on your Google calendar, you shouldn’t be able to book a party over them.
If that is not the case, go back and walk through the steps to make sure everything was done correctly, if it is still not working, then contact Matt McNeff at 801-361-8923 and he will help you troubleshoot.
Now we’re to the last step:
Step 5: Placing on your website
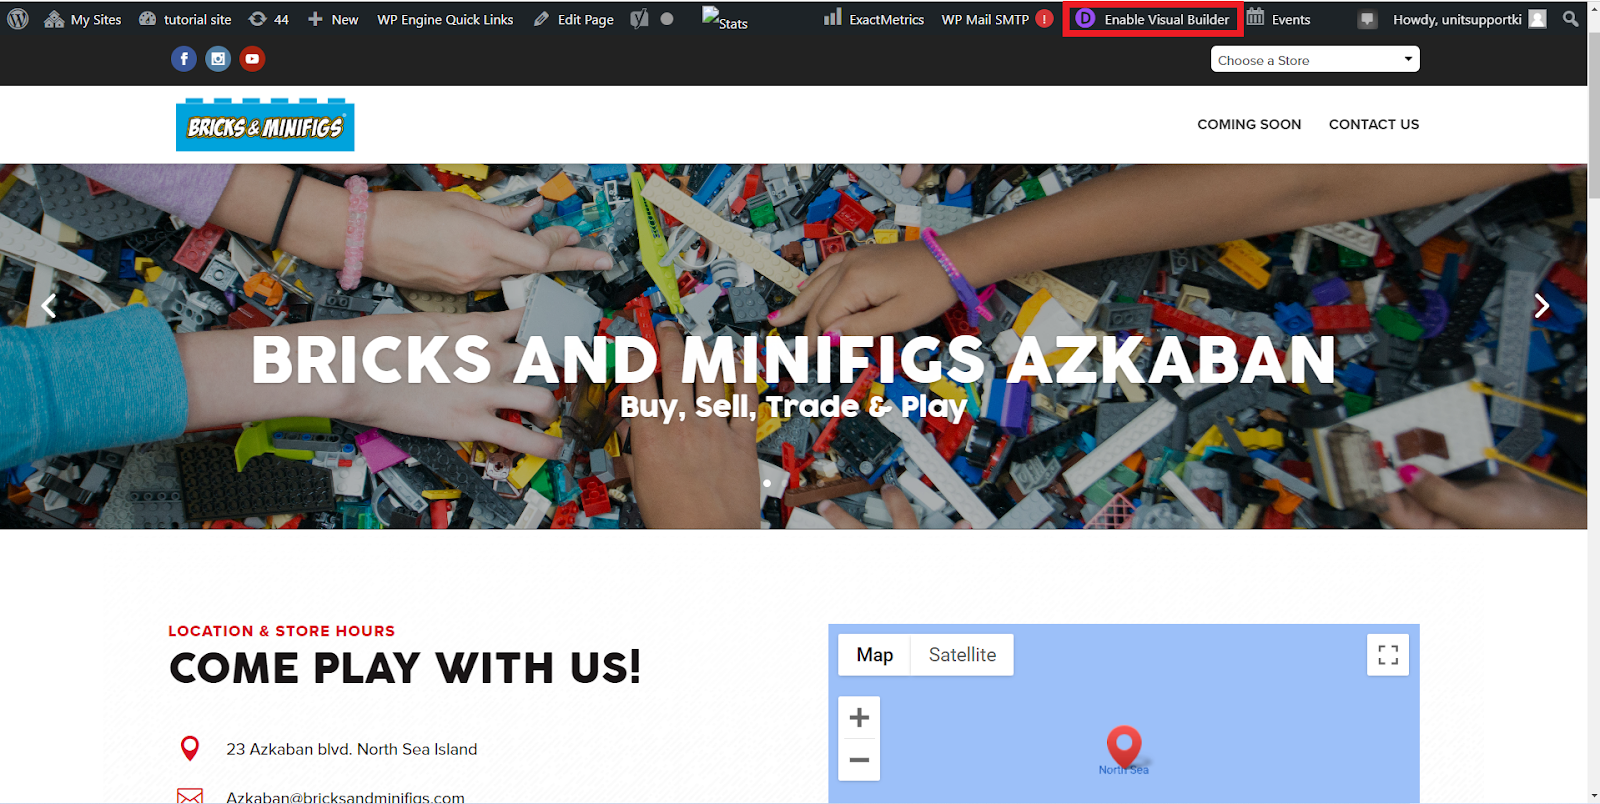
Log into your website and, on your main page, enable the Divi visual builder.
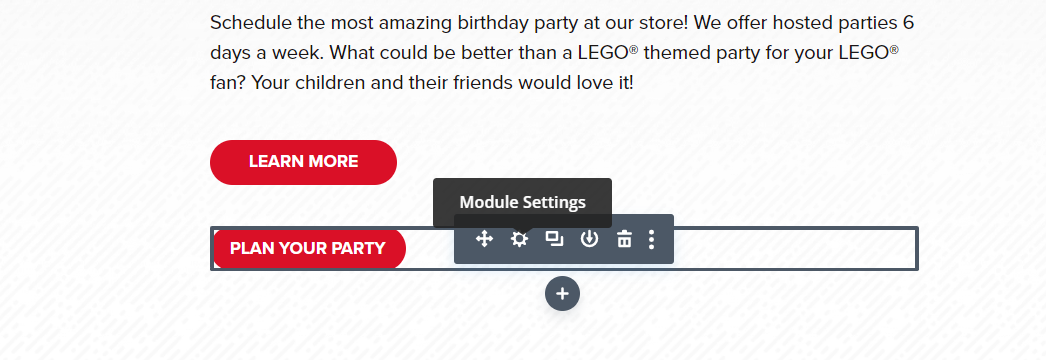
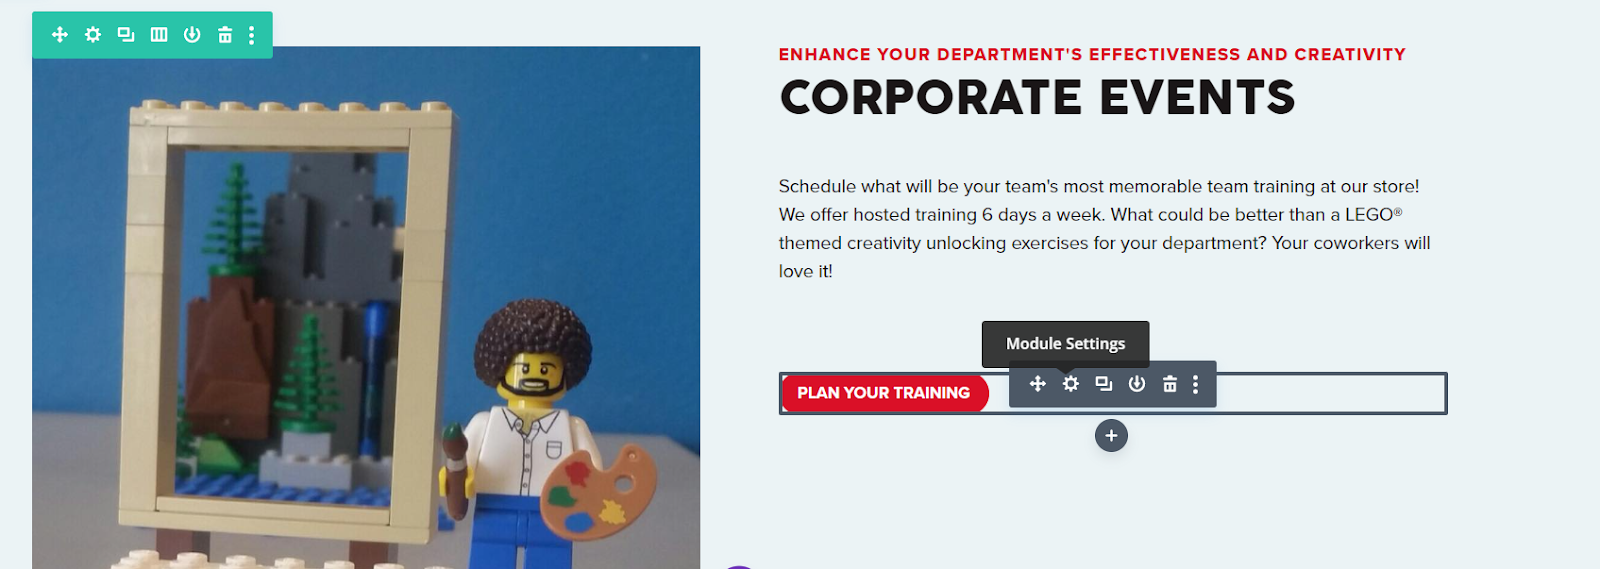
Scroll down to where you have the section titled “Celebrate With Us” and click on the button that says “Plan Your Party” then click on the gear in the gray box that shows up (module settings)
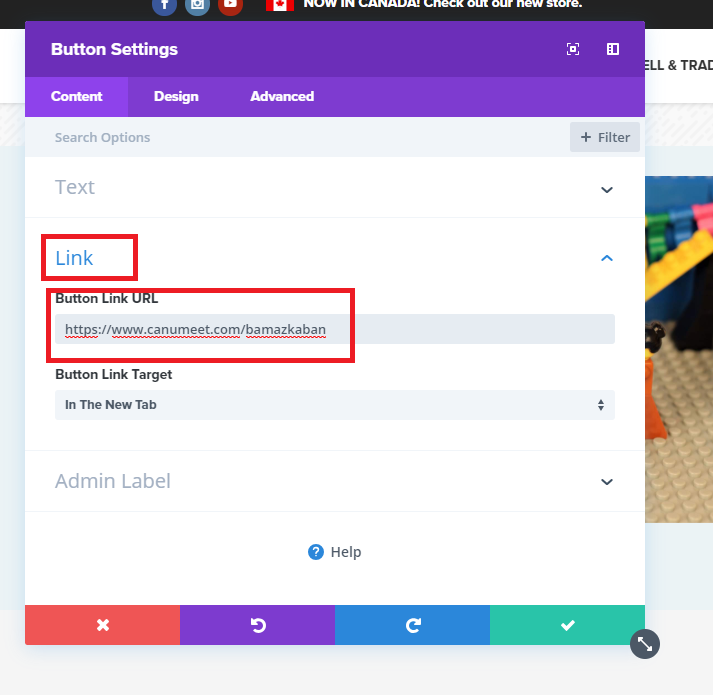
Then click on the link and change the URL to the URL for your public page in Canumeet.
Then make sure to hit the Green Checkmark to save the changes
Then make sure to click on Exit Visual Builder at the top, and save all the changes you’ve made

Go to your birthday party page and enable the Divi Visual Builder, then scroll down to where you have the button for people to be able to book birthday parties, click on it then click on the gear in the gray box that shows up (module settings)
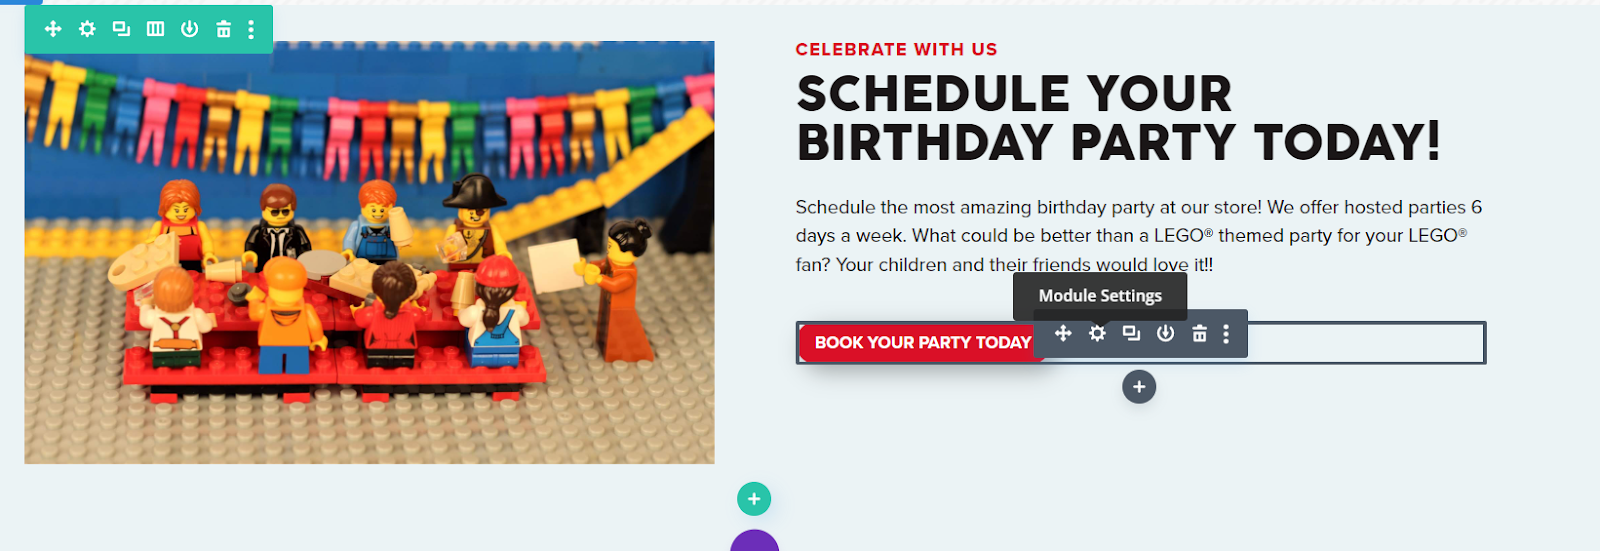
Then click on the link and change the URL to the URL for your public page in Canumeet.
Then make sure to hit the Green Checkmark to save the changes
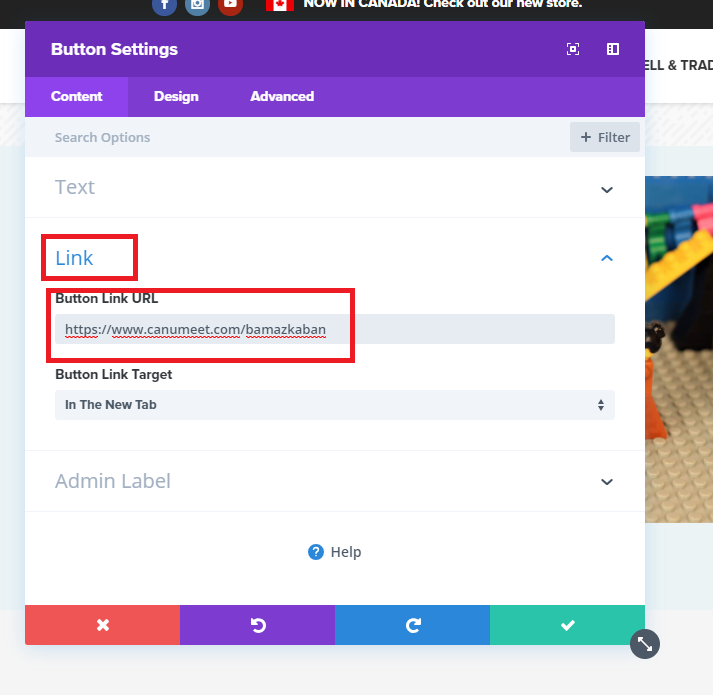
If you are doing corporate training packages, make sure that you edit that button too
Then make sure to click on Exit Visual Builder at the top, and save all the changes you’ve made

Now you should be able to check and make sure that if you click on the button on your party page, it should take you to your public page for Canumeet and you should be able to book a party. Huzzah, you have done it. If there are any other buttons on your site you want to link to this page, you will need to go through each one and manually edit the link just like in this last step.