
STEP 8 - EDIT AND ADD NEW SITE PAGES
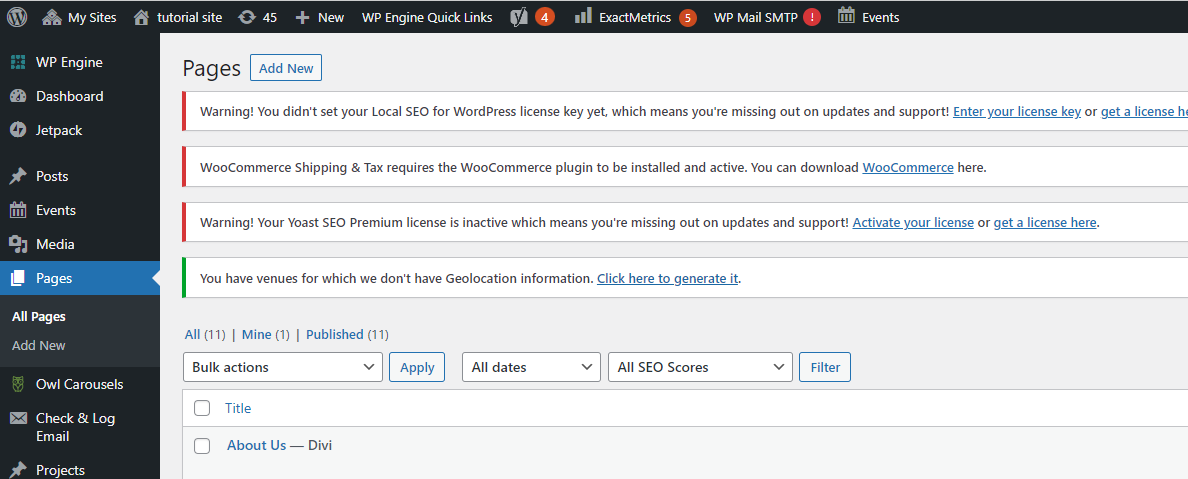
If you jump back to the “All Pages” page in your website backend, you will see several pages which were described in step zero.
Go through these pages and customize them to your needs. For example, on the “Buy, Sell, Trade” Page there is some bracketed text you will need to change in the first and second paragraphs.

You can also add a new page by clicking the “Add New” in the top right corner of the page:
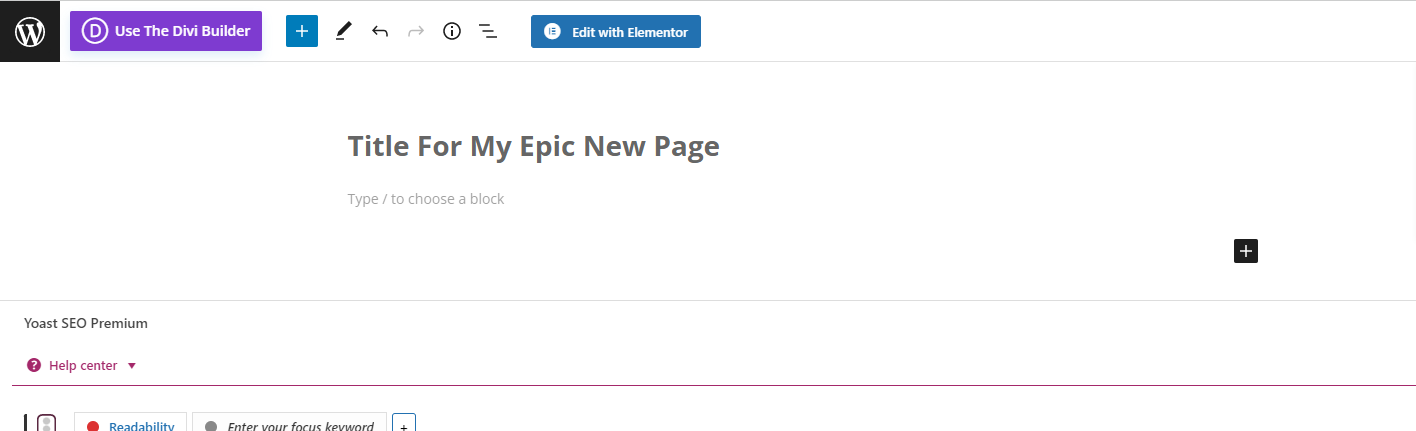
Enter a title for your page
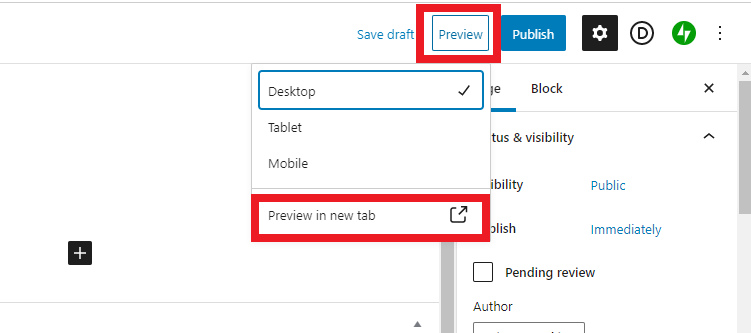
Then in the top right corner click on “Preview” and then “Preview in new tab”
This will pull up a page that we can start editing with the Divi Visual Builder.
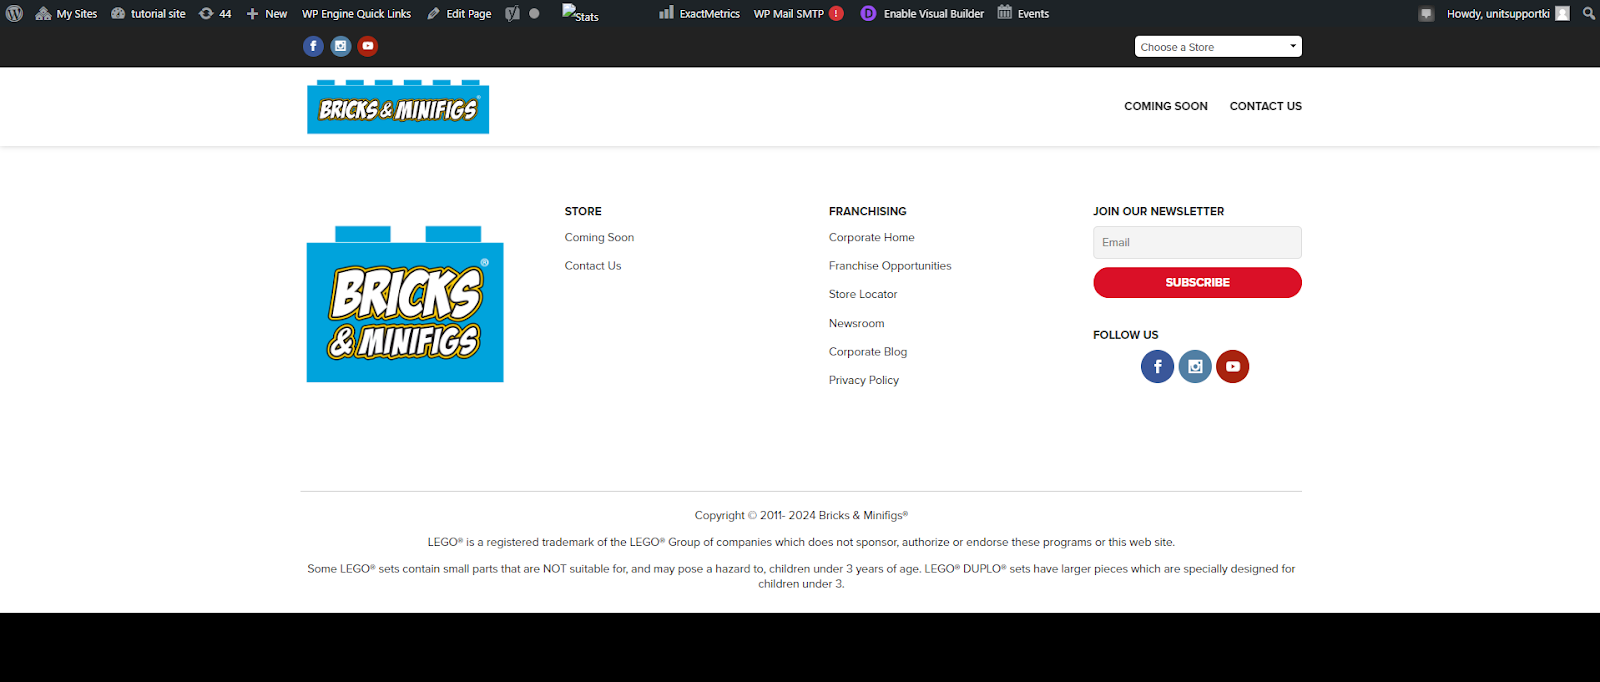
Click on the “Enable Visual Builder” at the top of the screen

You should get three popups, build from scratch, choose a premade layout, and clone an existing page.
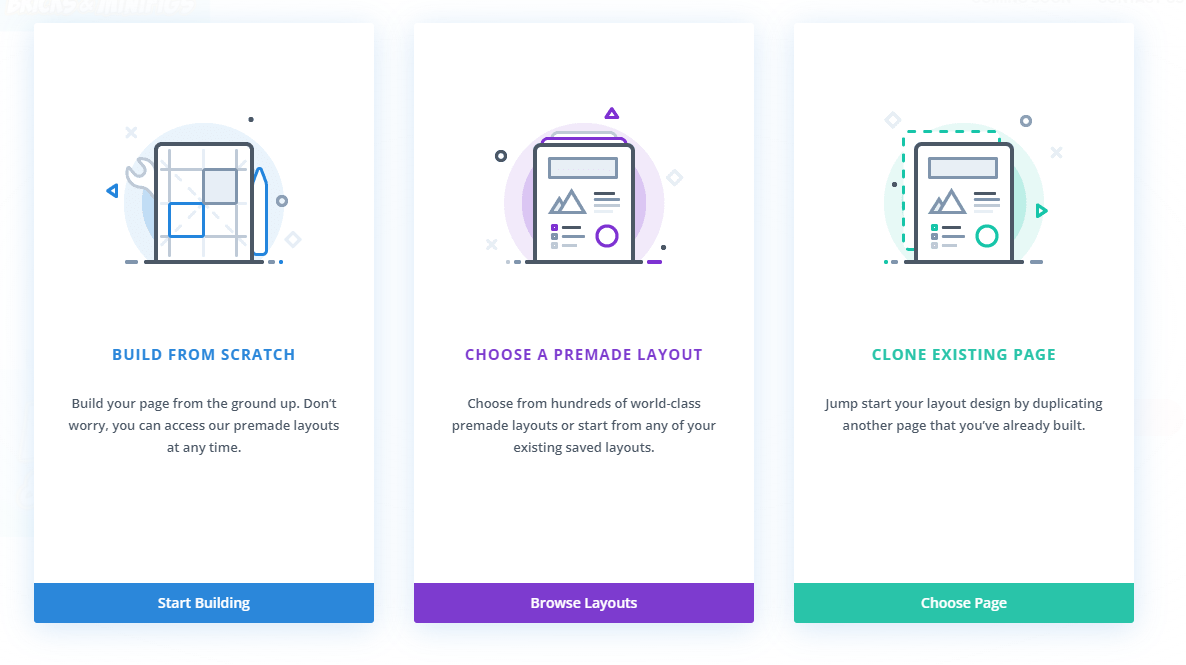
We advise choosing from the “Build From Scratch” or “Clone Existing Page” options. You can look at the premade layouts, but most of them don't follow the look and feel of the website and so you need to be careful which one you choose.
If you click on “Clone Existing Page” you can choose from any of your current pages to use as a good starting point for your new page.
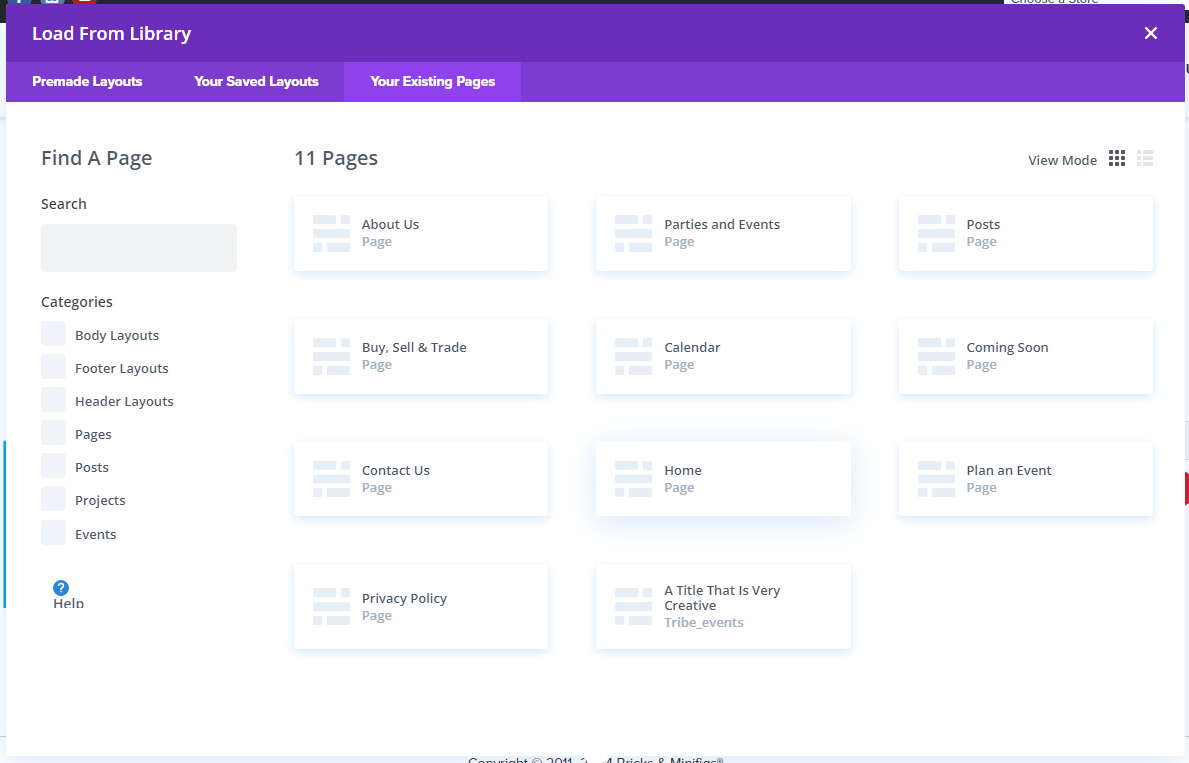
If you need more help on how to use the different Divi visual builder tools, reach out to @support in your PSC and they can arrange a website training for you.
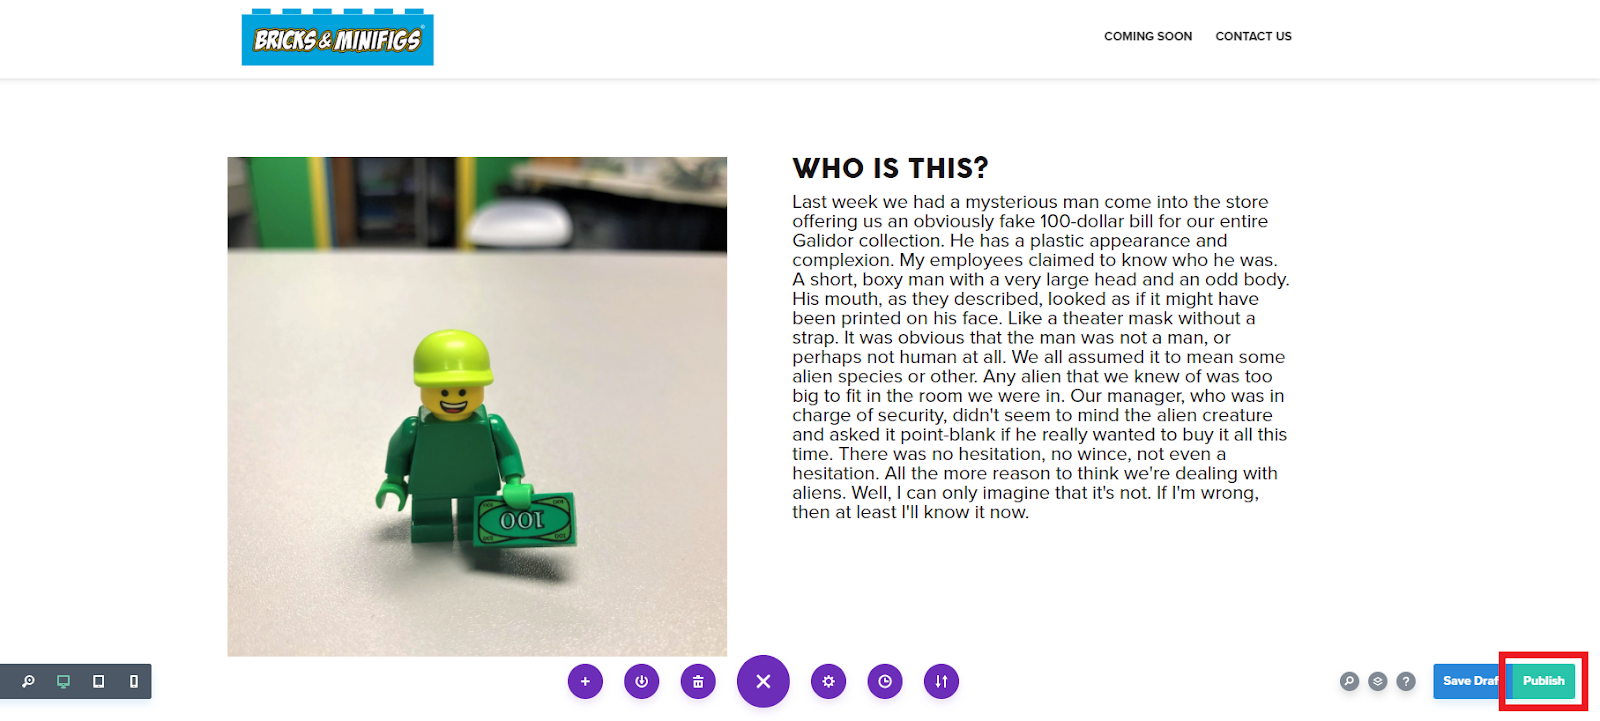
Once you are done creating your page, click on the purple circle at the bottom of the page, and then “Publish”
Now if you go back to the original tab we were editing and refresh the page, you will see it populated with information.
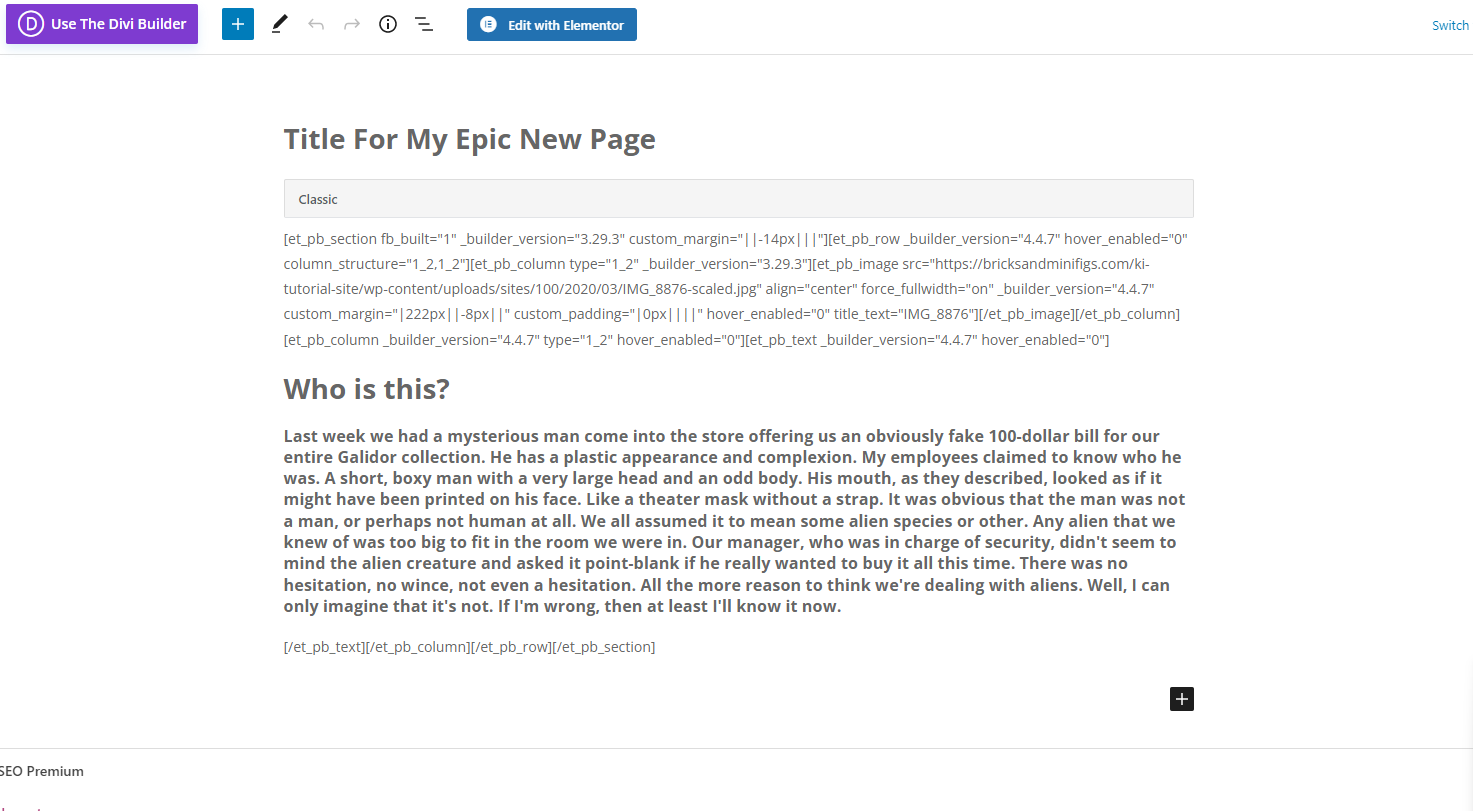
Congratulations, you have created a new page!