
STEP 7 - EDIT AND ADD EVENTS TO YOUR EVENTS CALENDAR
If you plan on using the event calendar, follow this tutorial on how to add events
Navigate back to your Dashboard. If you are just logging in, when you log in, you should be seeing the Dashboard with a lot of options on the left side of the screen. If you were previously using the visual editor, hover over the button at the top of the page that says your city name, and click on the Dashboard option:
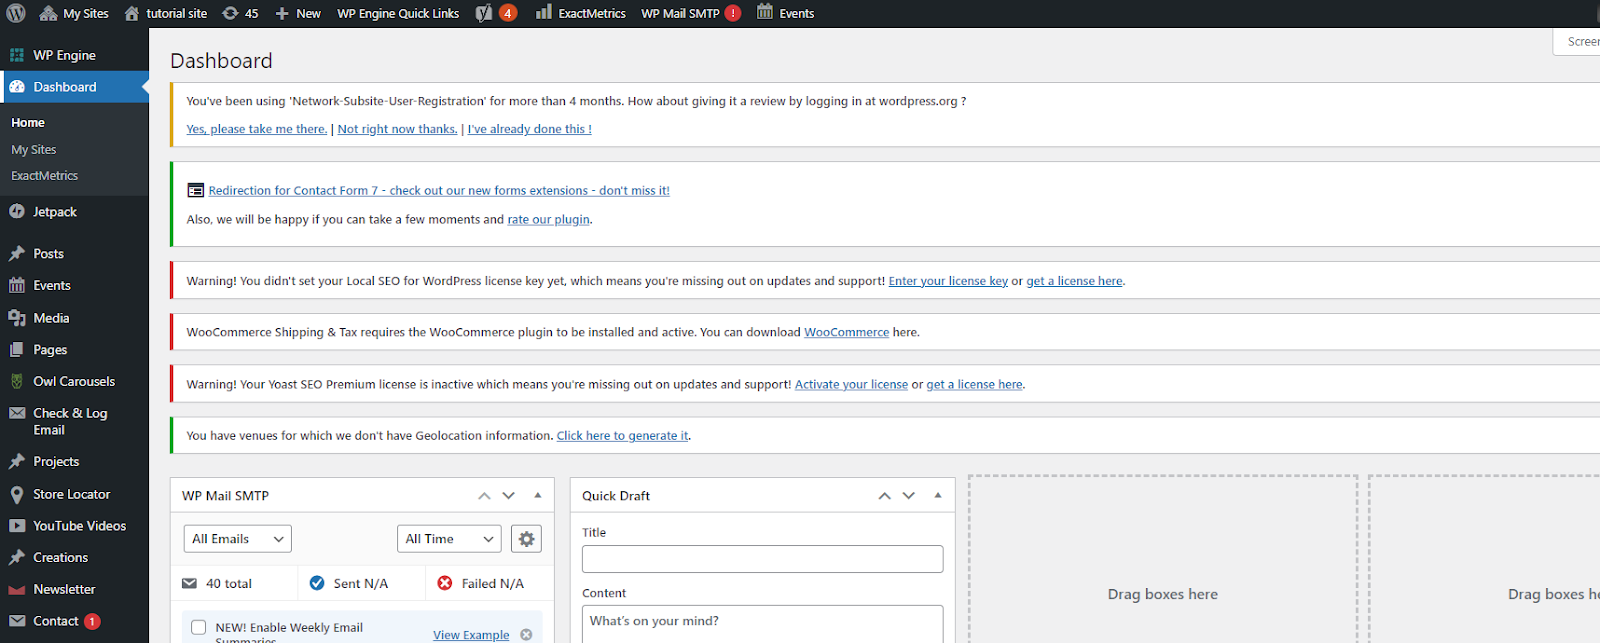
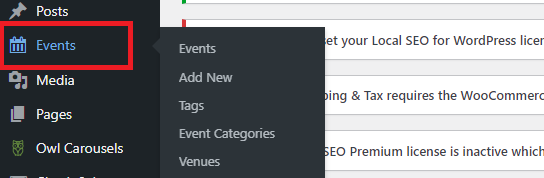
Now click on the option on the left-hand side that says “Events” it has a little calendar icon next to it:
You’ll see a list of all the current events that are showing up on your events calendar:
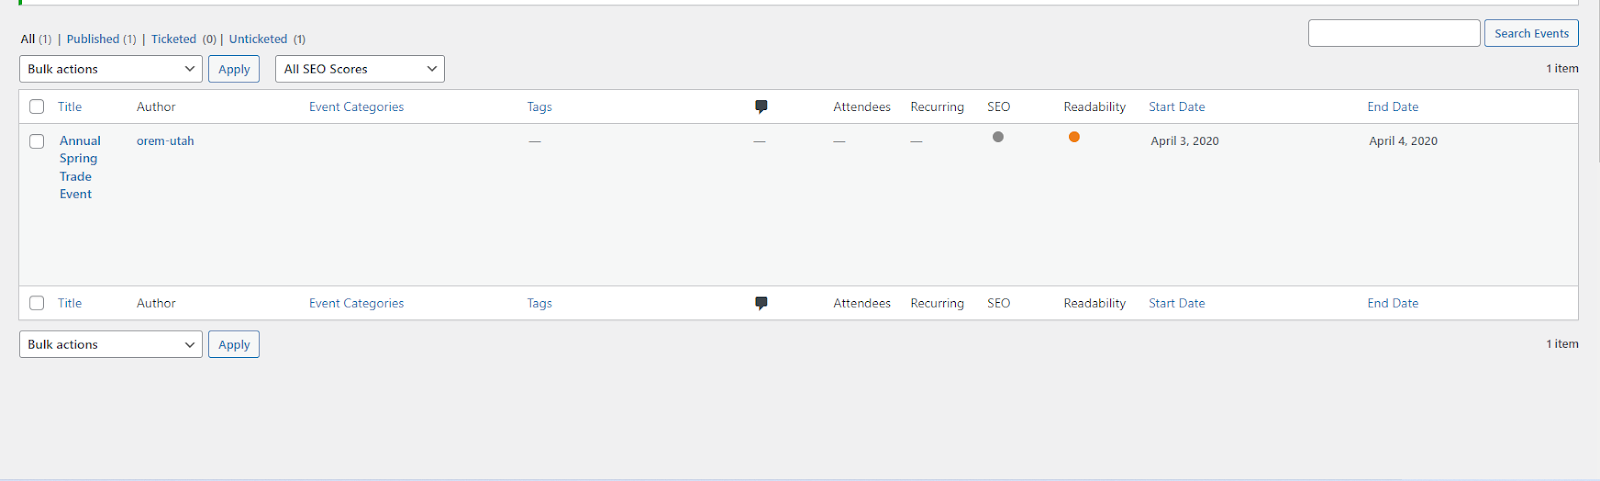
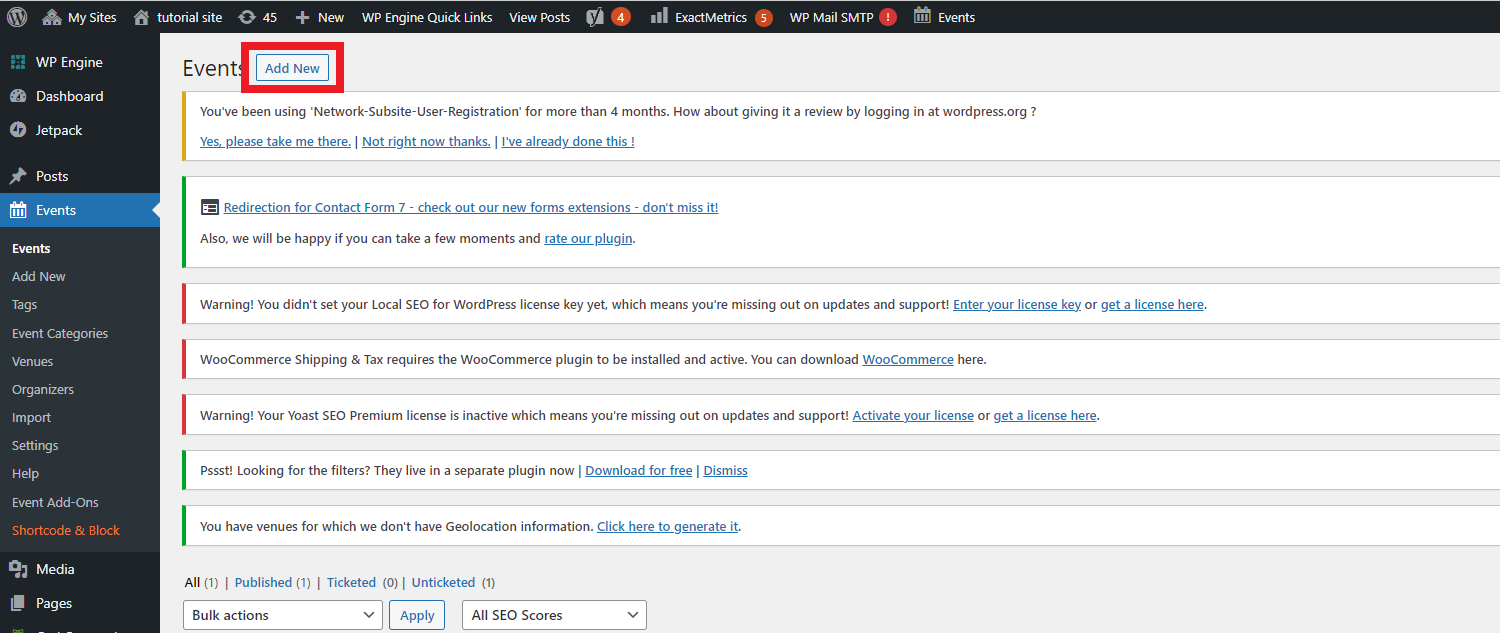
You can click on those and edit their information or delete them from the calendar, or you can add a new event by clicking the “Add New” button at the top:
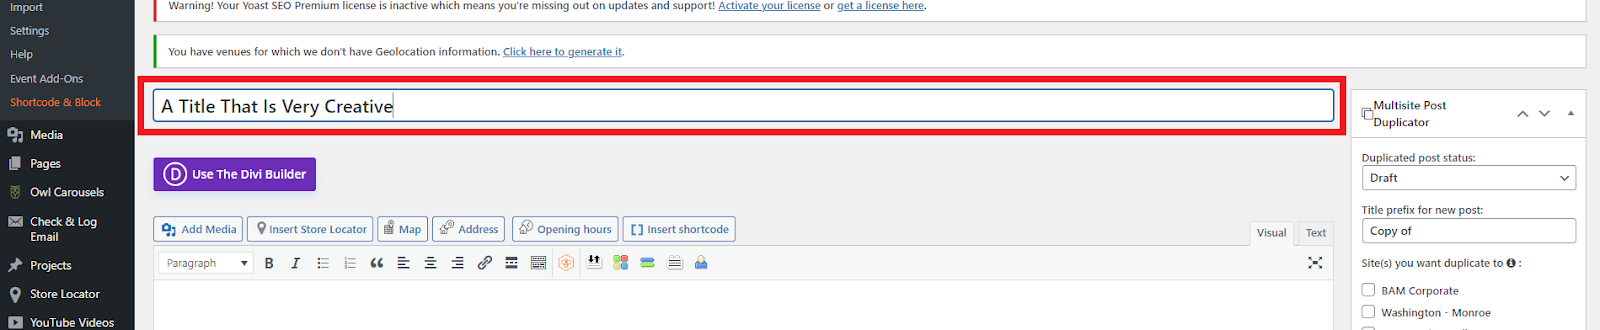
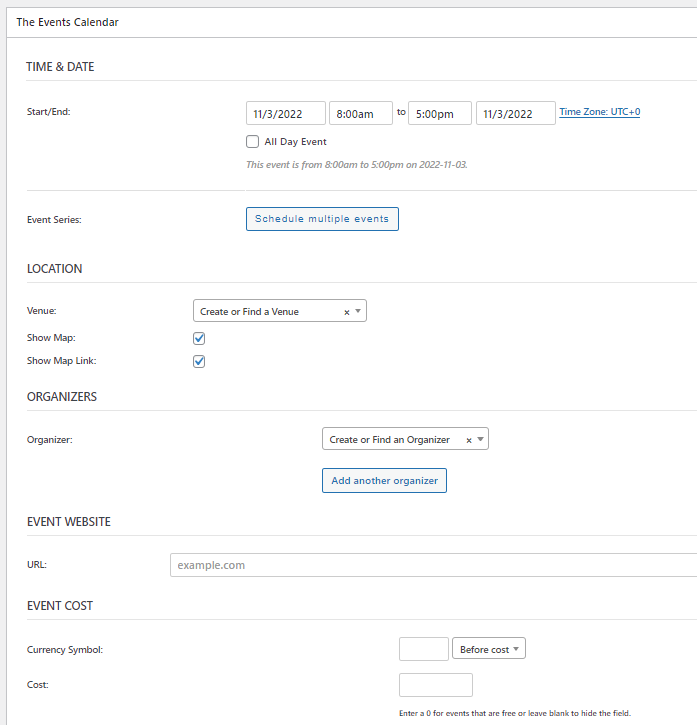
Now here you can add all the information you want for an upcoming specific event such as:
A title:
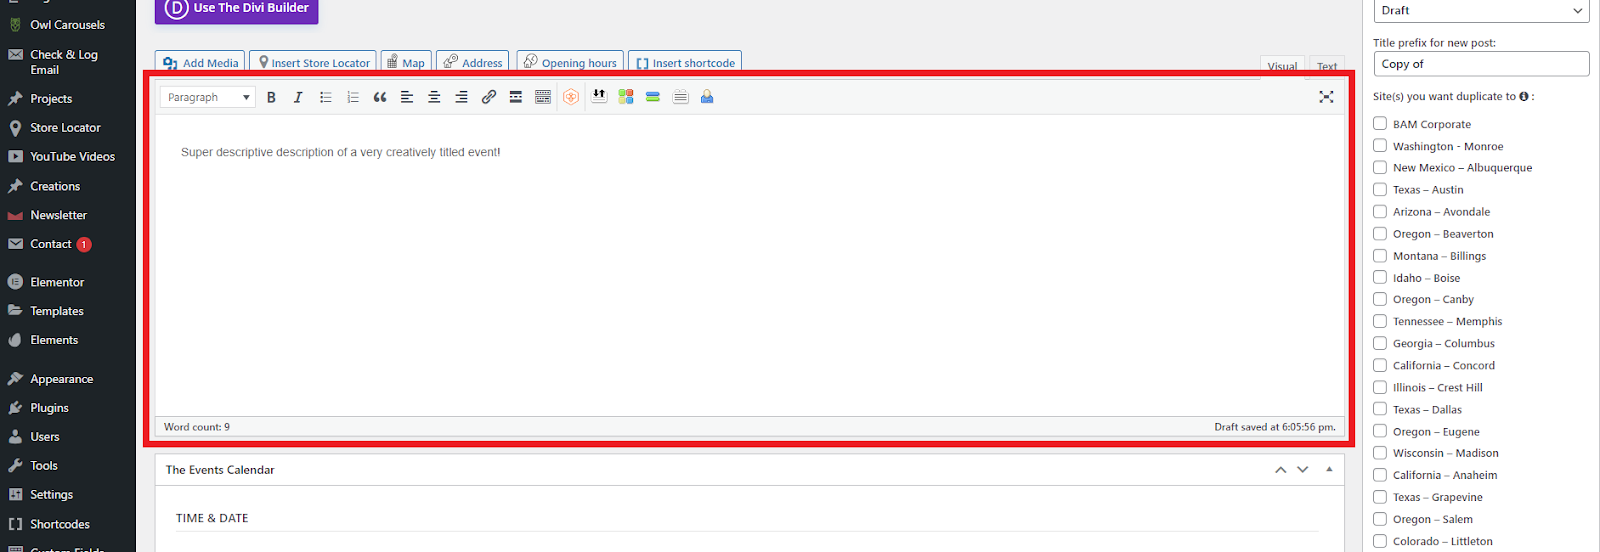
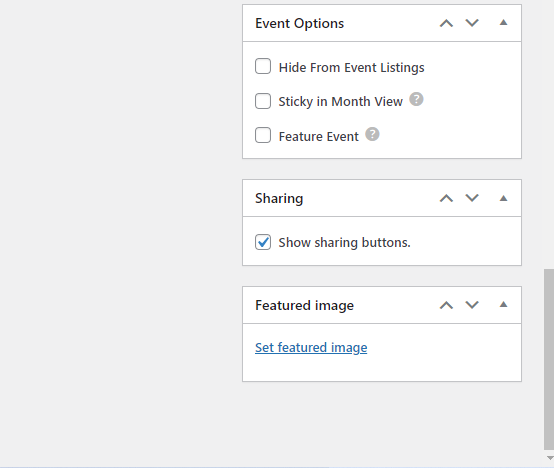
On the bottom right of the page, you can click on the set featured image link, and choose a photo to show up on the event page above the title:
When you have all the information you want in the boxes, click on the publish button on the right side of the page:
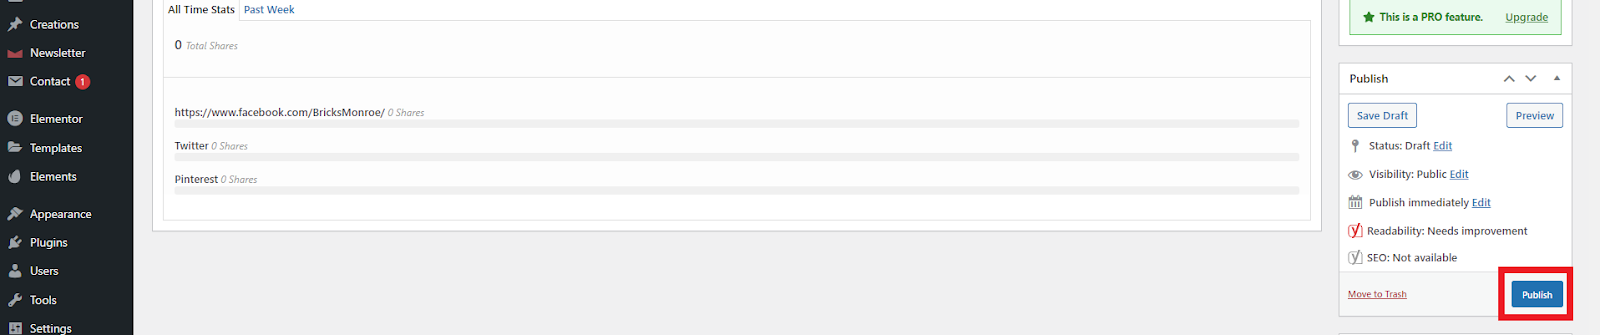
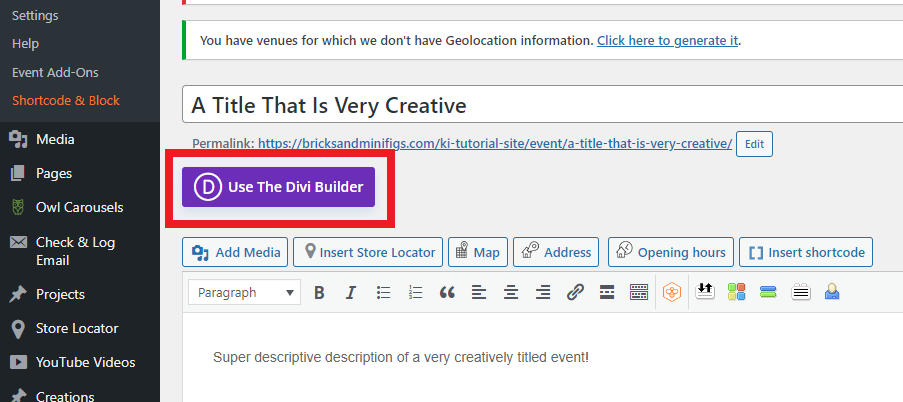
If you are more comfortable with the visual editor you can click on the purple box that says “Use the Divi Builder”
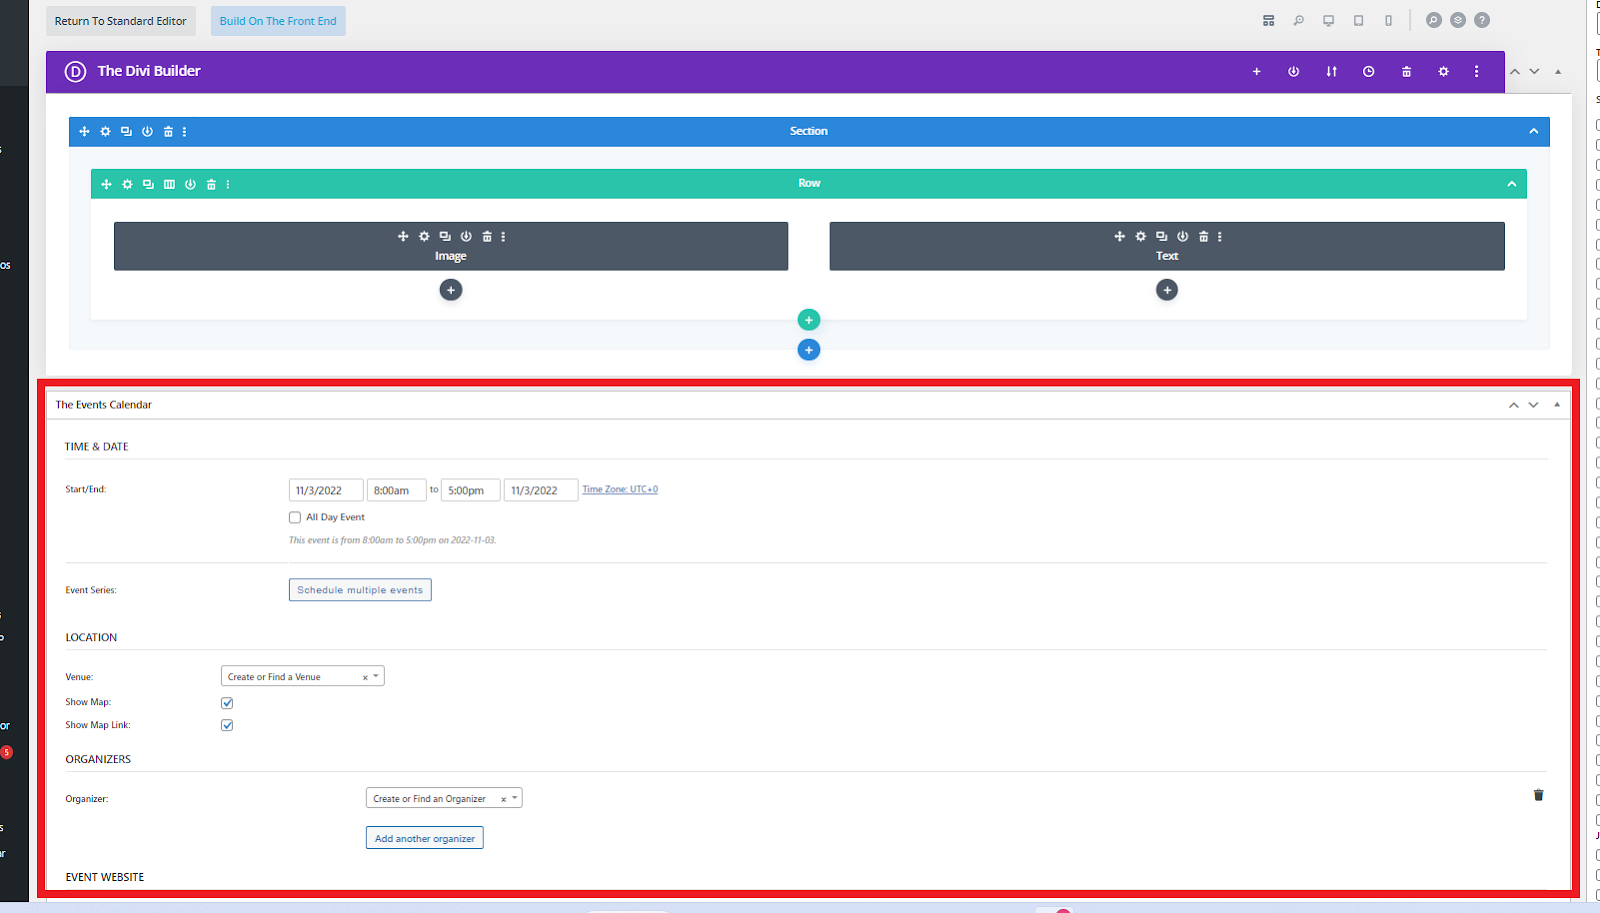
Remember that even with building with the visual builder, you will still want to put the event details and information in
!! Make sure you click on the publish button !!
After an event is published, it is put on your events calendar that customers can get to from your home page:

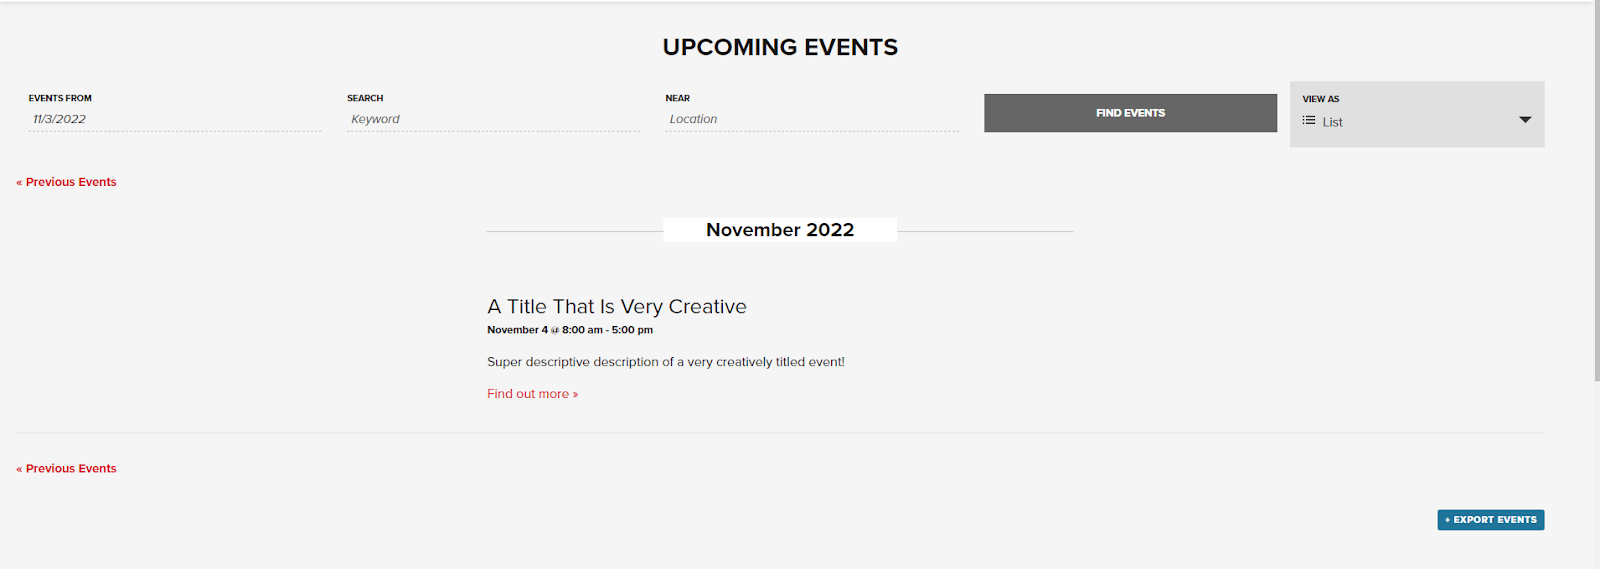
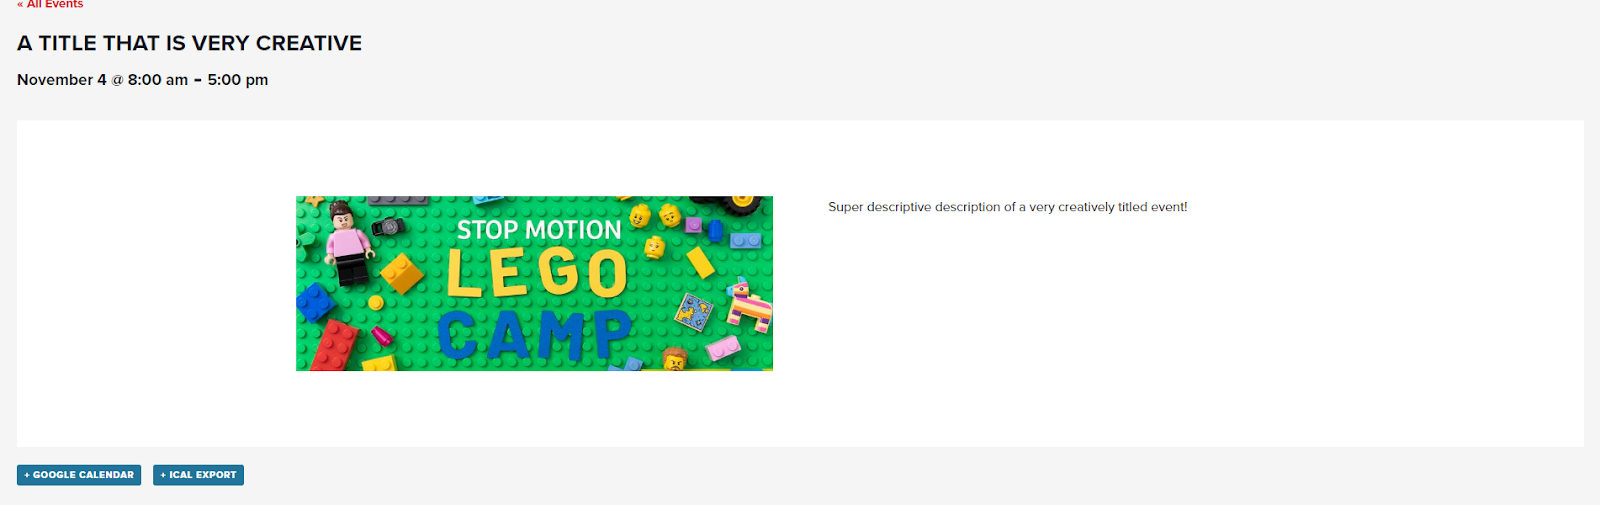
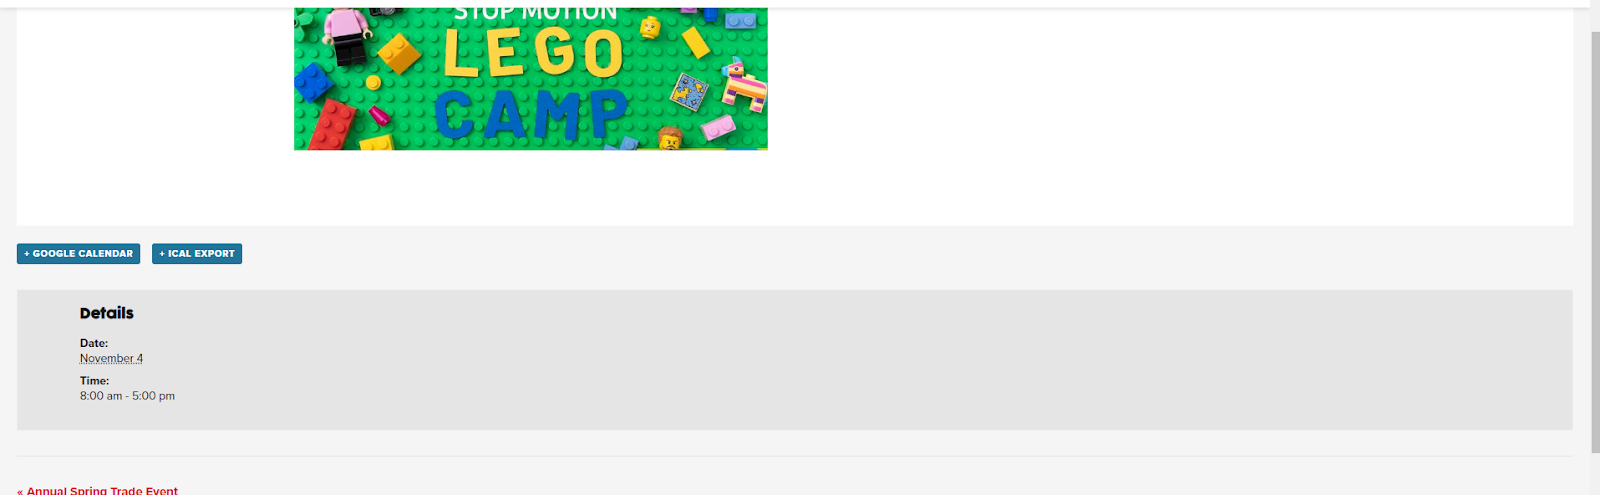
And that is how you add events to your event calendar. Play with it, and have fun. There are a lot of options, but you don’t need to go crazy with them if you want to keep it simple.