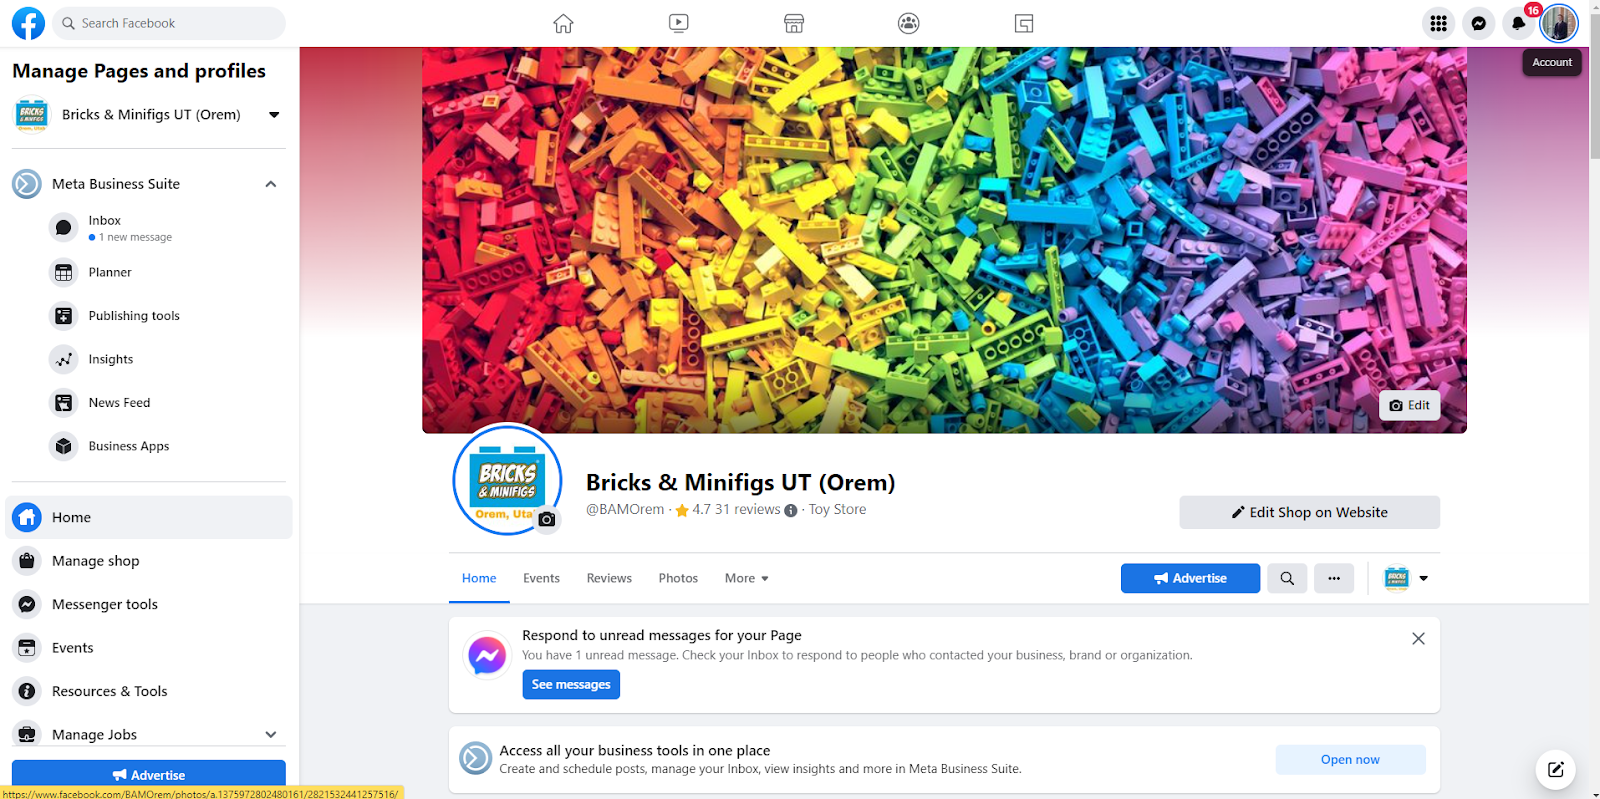
When you come into training as a new franchisee you will have your store's Facebook page created for you, but it will be up to you to set it up. Because of the different guidelines and policies we have created this guide to help you navigate the creation process while still staying compliant. You will want to do the majority of your work on Facebook via a computer, so this tutorial will be focused on how to setup/use Facebook from the computer.
Accessing your Facebook page
Navigate to Facebook.com, then click on your profile picture in the top corner of the page

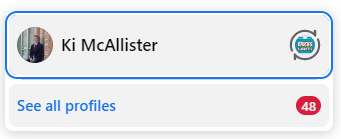
When you click on your profile photo you will see a little pop-up. If you only manage one page, clicking the profile picture with the circle arrows will move you into your store's Facebook page profile. If you manage multiple pages you may have to click on the "See all profiles" button to find your stores profile.
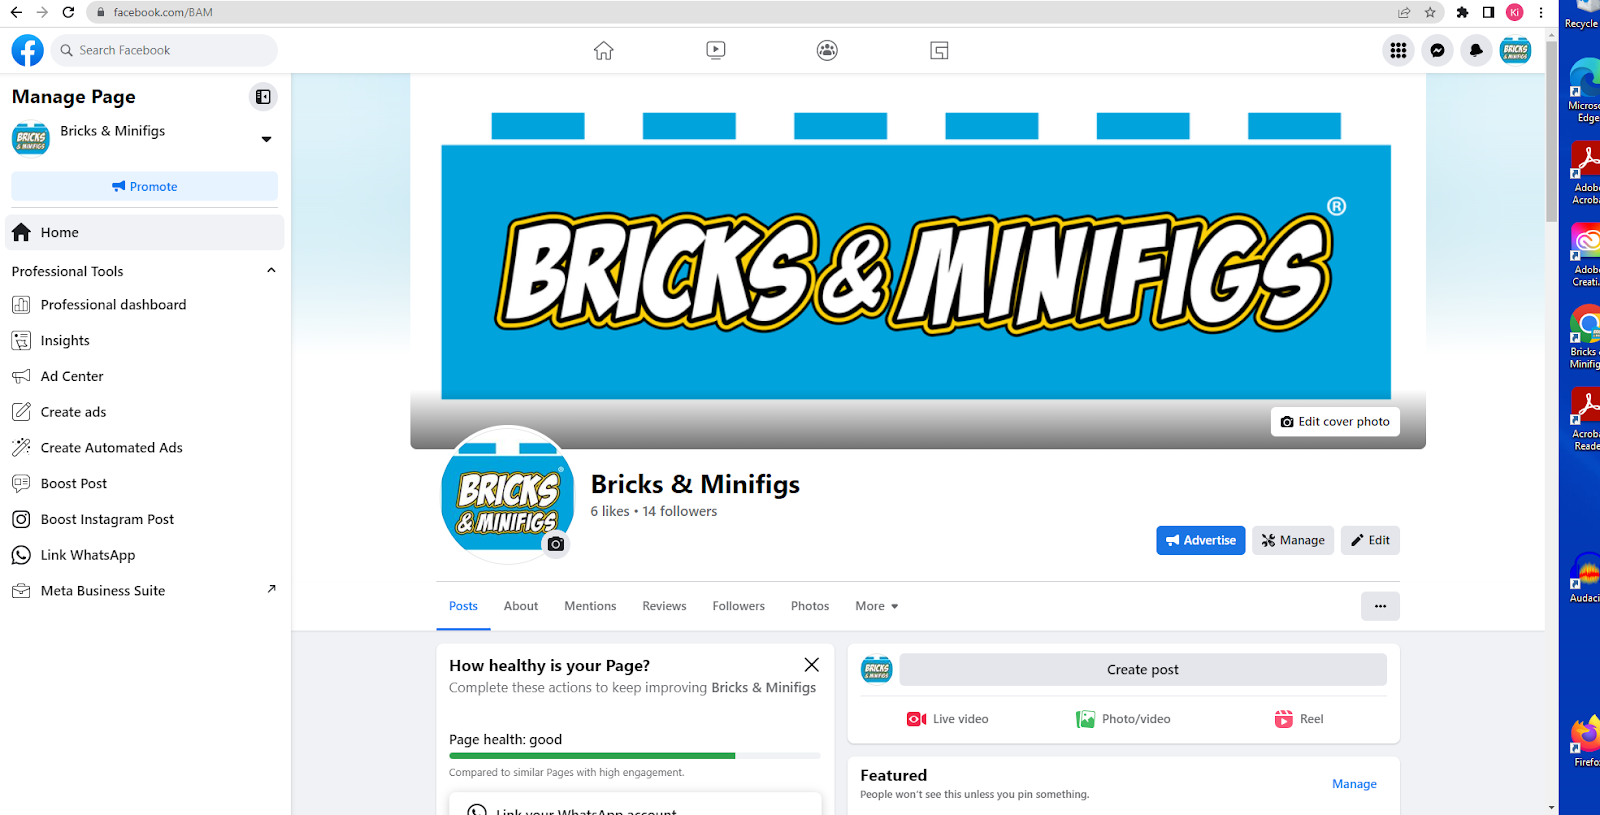
When you switch profiles you will be taken to your page's social media feed, for the next few steps we will want to be on your profile setting page. You can access that by clicking the store's profile picture in the top corner and then clicking it again in the popup menu. That will direct you to a page that looks somewhat like this:
Choosing a Cover Photo
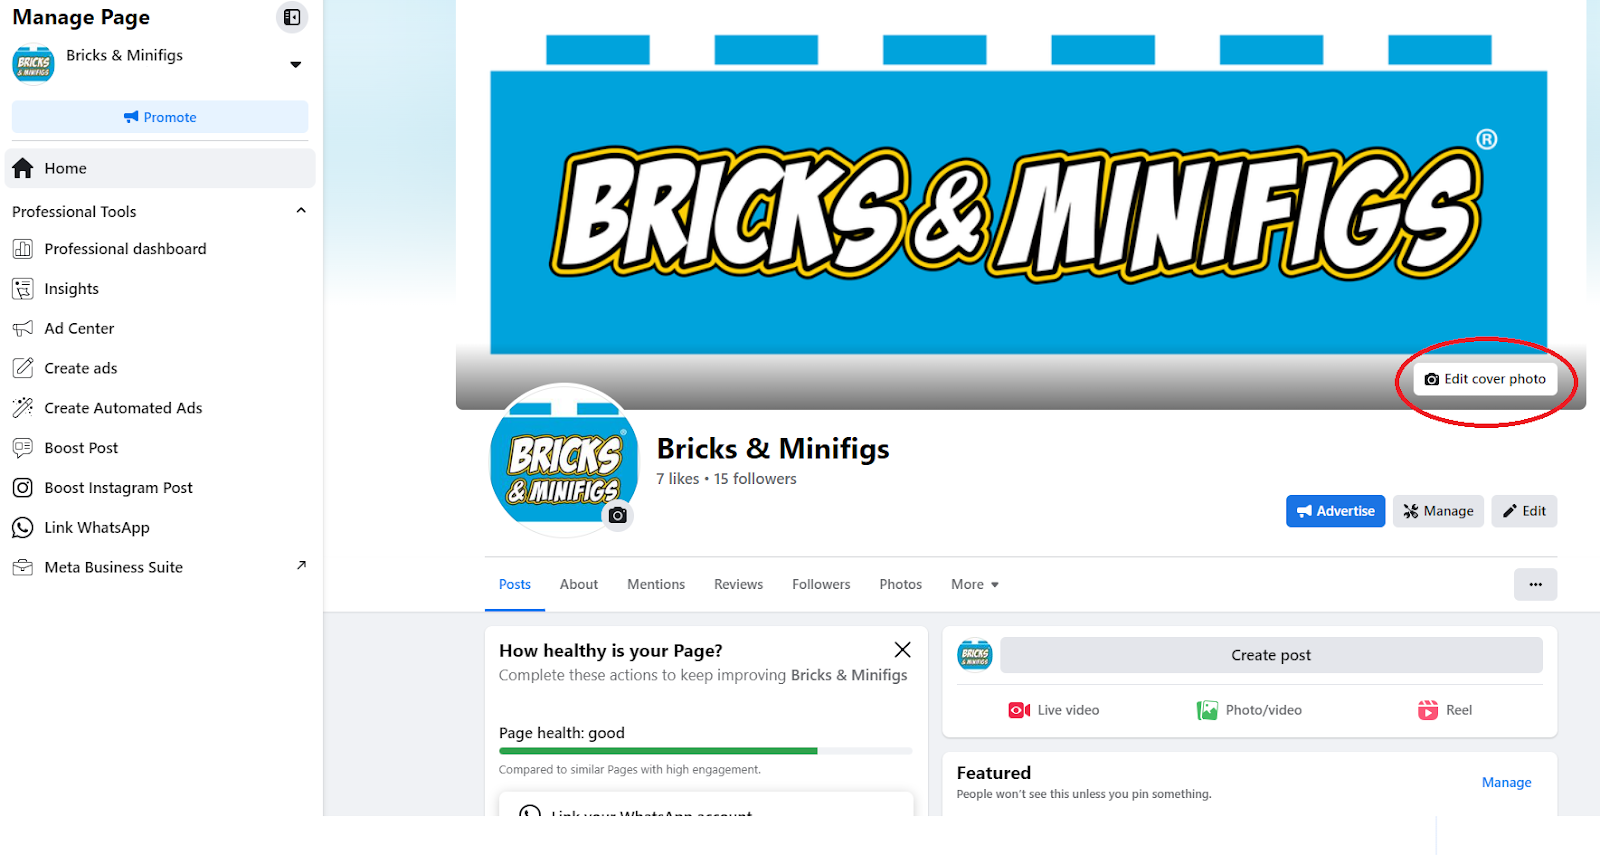
When choosing a cover photo it is important to remember the Marketing Guidelines with both the LEGO standards and with the Bricks & Minifigs standards. For example, for your cover photo you can use pictures of your store, or the Bricks & Minifigs logo, or something along those lines. If you are struggling to come up with a good cover photo or profile picture you can contact unit support and we can assist you!
TO see some of the online LEGO standards check out the E-tailer guide linked below
LEGO Etailer Rulebook_2019_V1.pdf
To change your cover photo simply click Edit in the cover photo section of your page, and choose a photo.
Here is an example of an appropriate cover photo.

Here’s an example of an inappropriate cover photo:

Choosing your profile picture for linked accounts
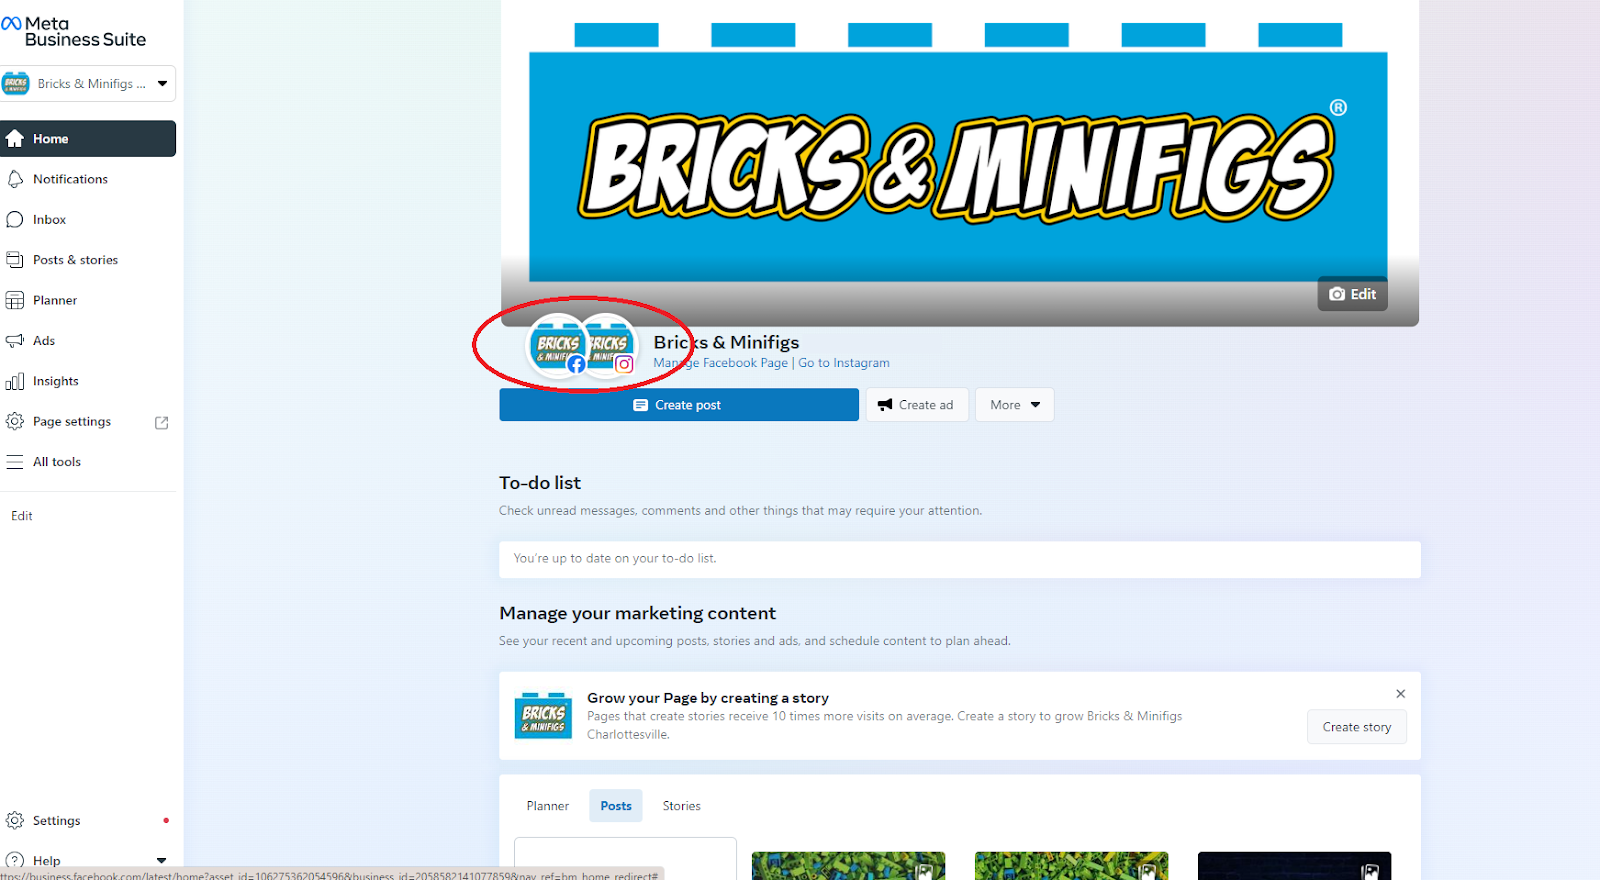
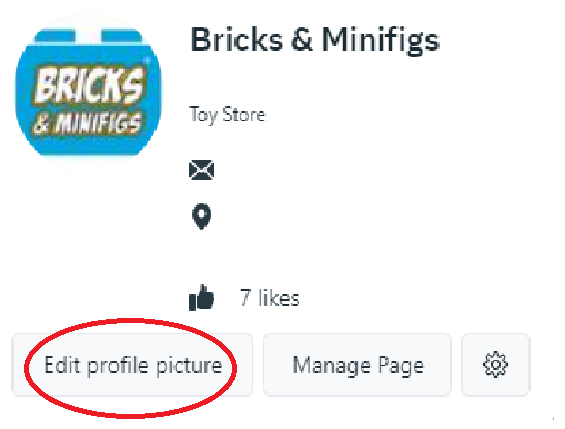
To choose your profile picture hover over your current profile picture.. When you do that, you will then see the option to edit your profile picture. Click that.
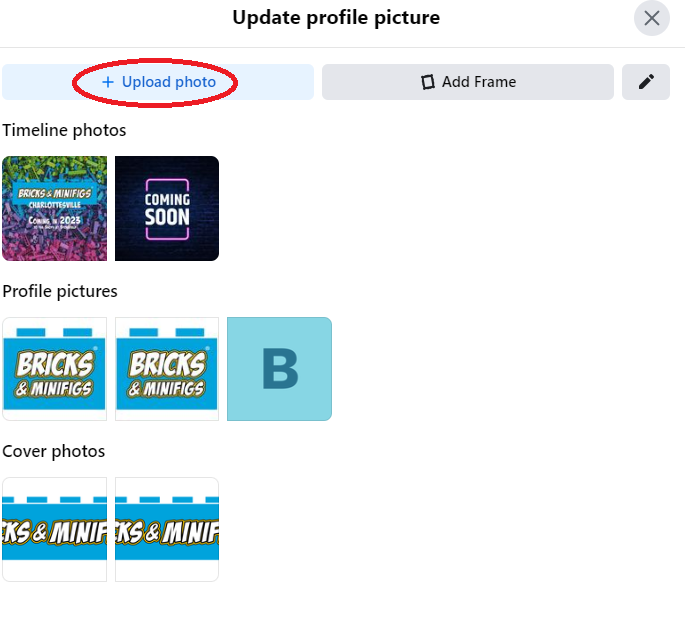
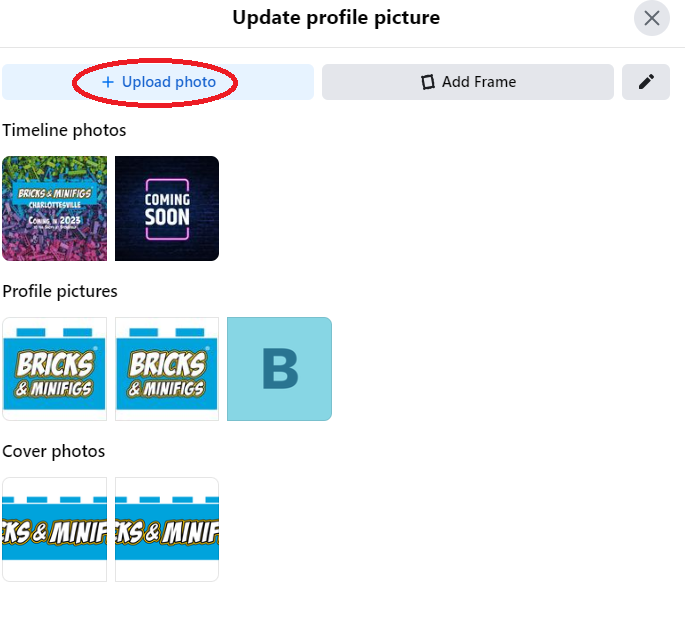
Then a pop up will show to upload a photo, click on that. Once you do, you can choose a profile picture!
Changing your profile picture with non-linked accounts
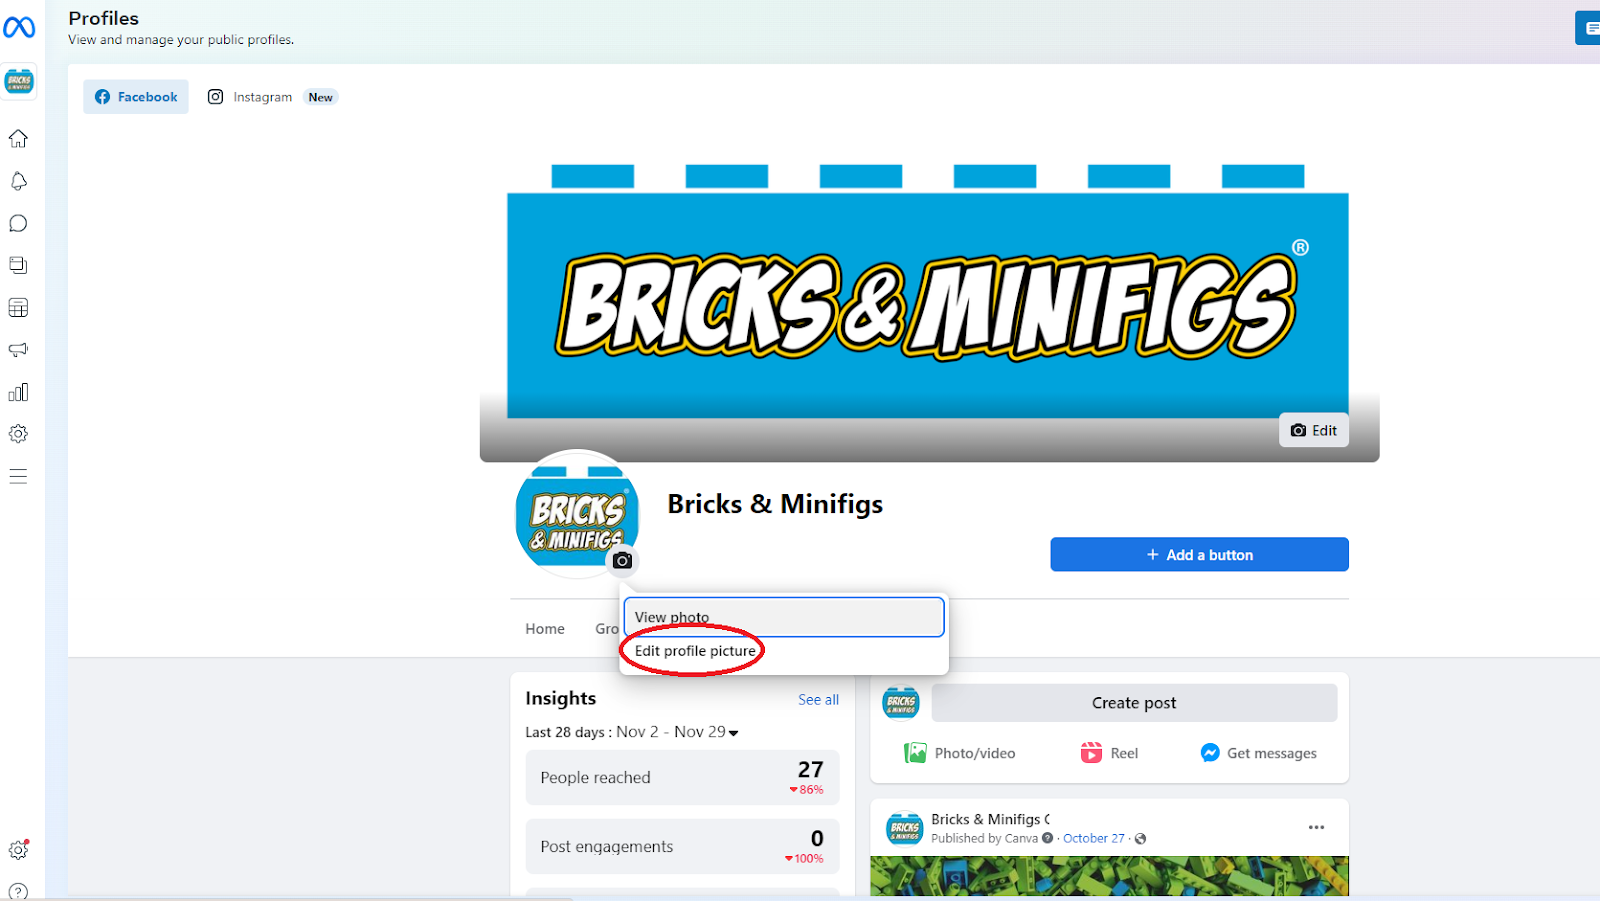
To change your profile picture with non-linked accounts you can click on the small camera icon in the profile picture, and then click on ‘Edit profile picture’. A pop up will show and then you can click ‘Upload photo’.
Posting to your social media
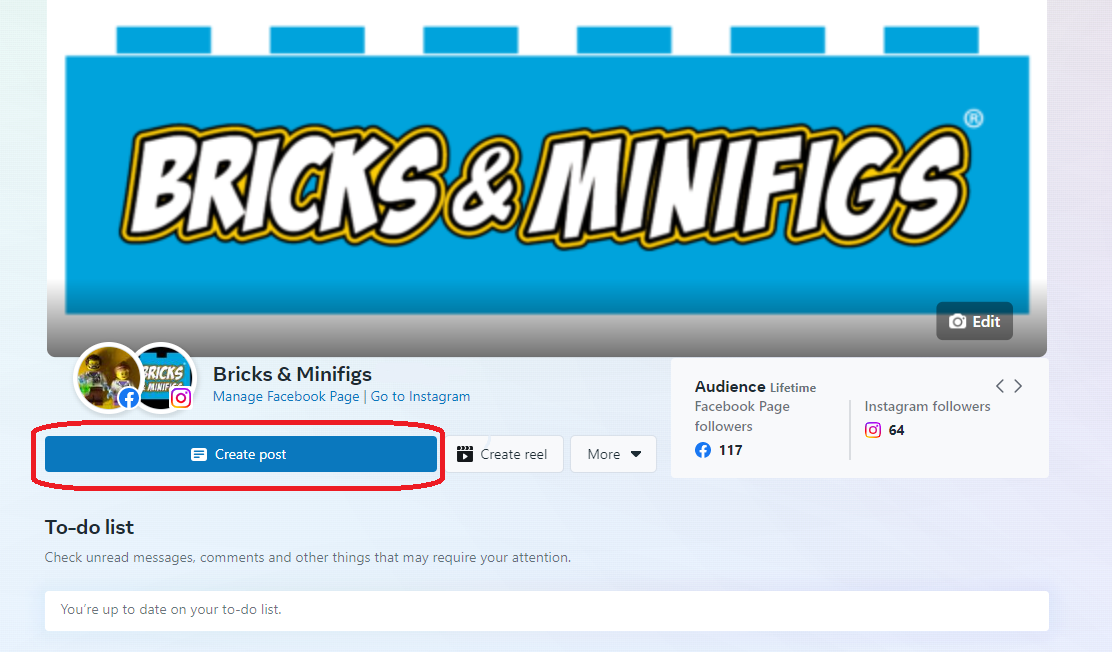
In order to post to your social media, go to your home page and click 'Create Post'.
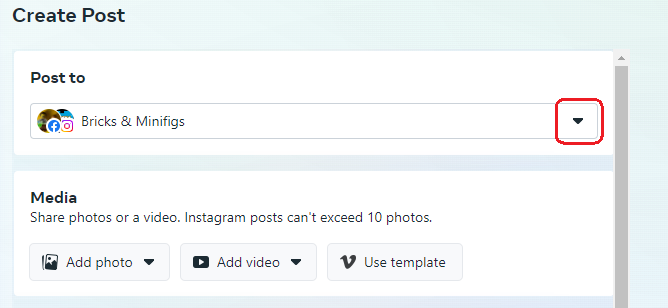
Once you do that it will take you to a new page. For now we will just focus on the 'Post to' section at the very top of the page. Click on the small arrow on the right.
Clicking this will show you a dropdown of options, either to post to your Facebook, Instagram, or both.
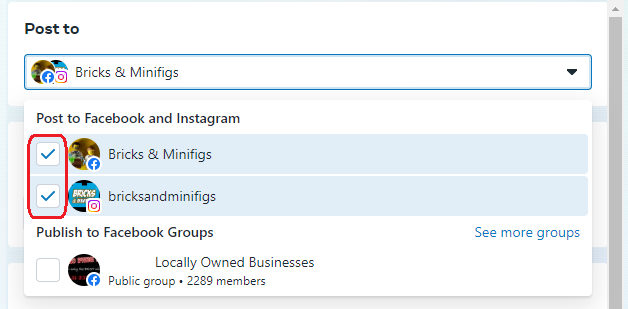
We will want to make sure that both boxes are clicked in order to cross-post. After doing that, then add whatever media you are gong to post, and click 'Publish'.
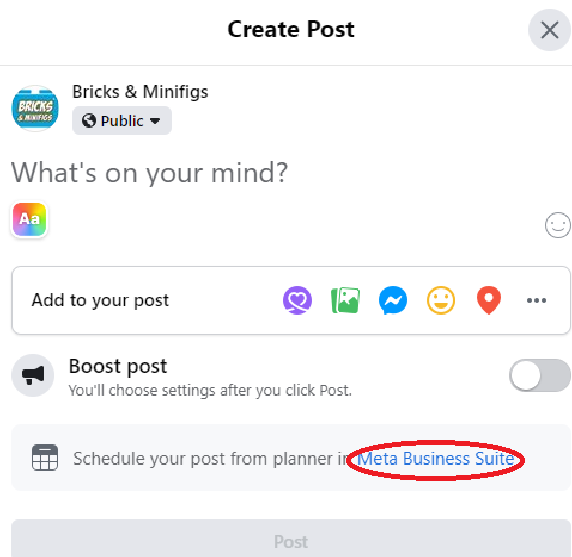
This is one way of doing a quick and easy post. If you want to do a more in-depth post you can click on ‘Schedule your post from planner in Meta Business Suite’.
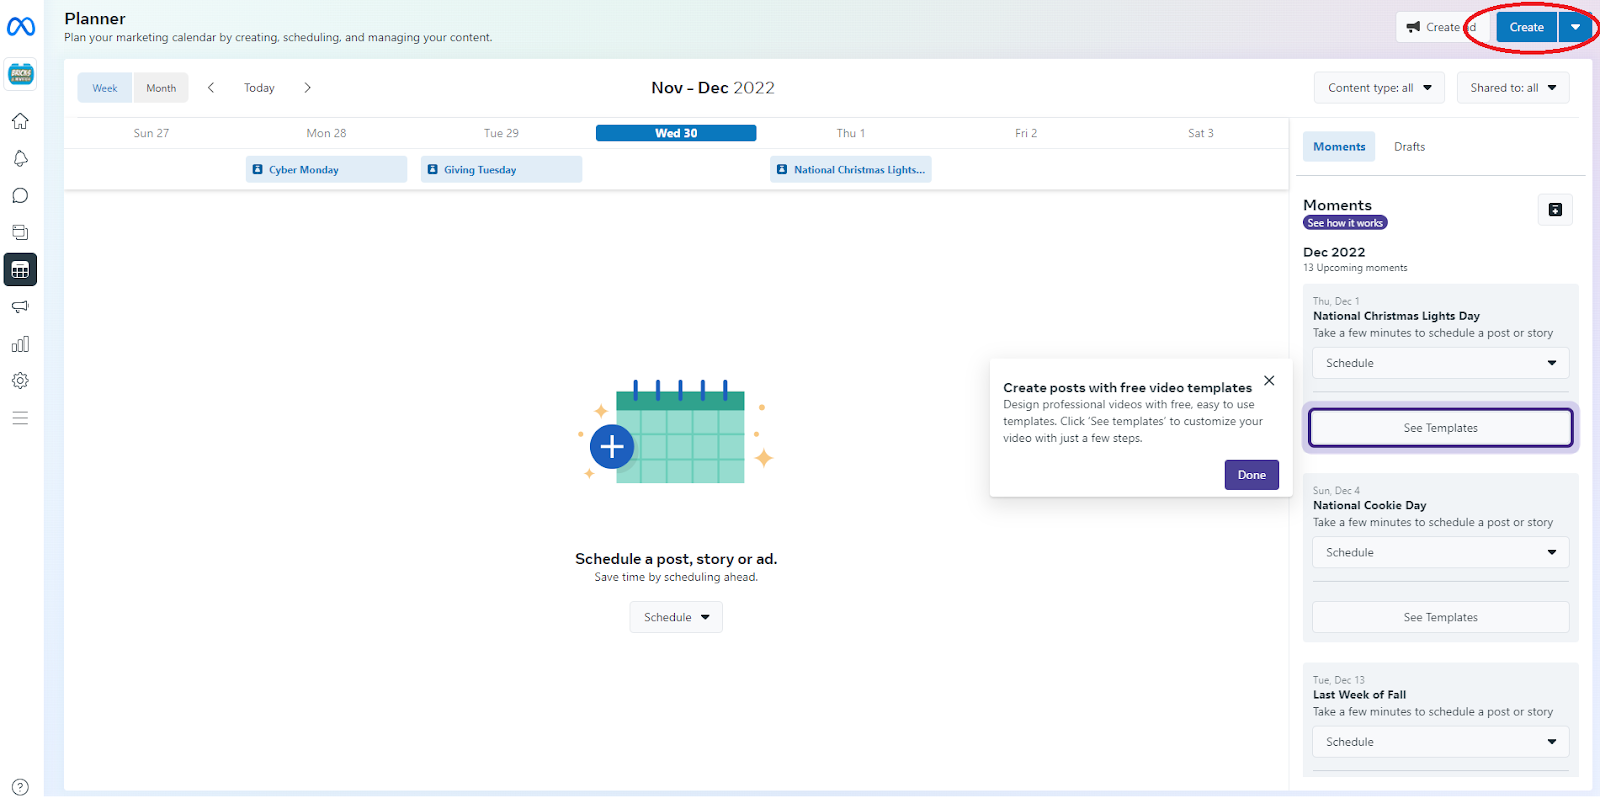
From here it will take you to a new page. Simply click on ‘Create’ in the top right corner.
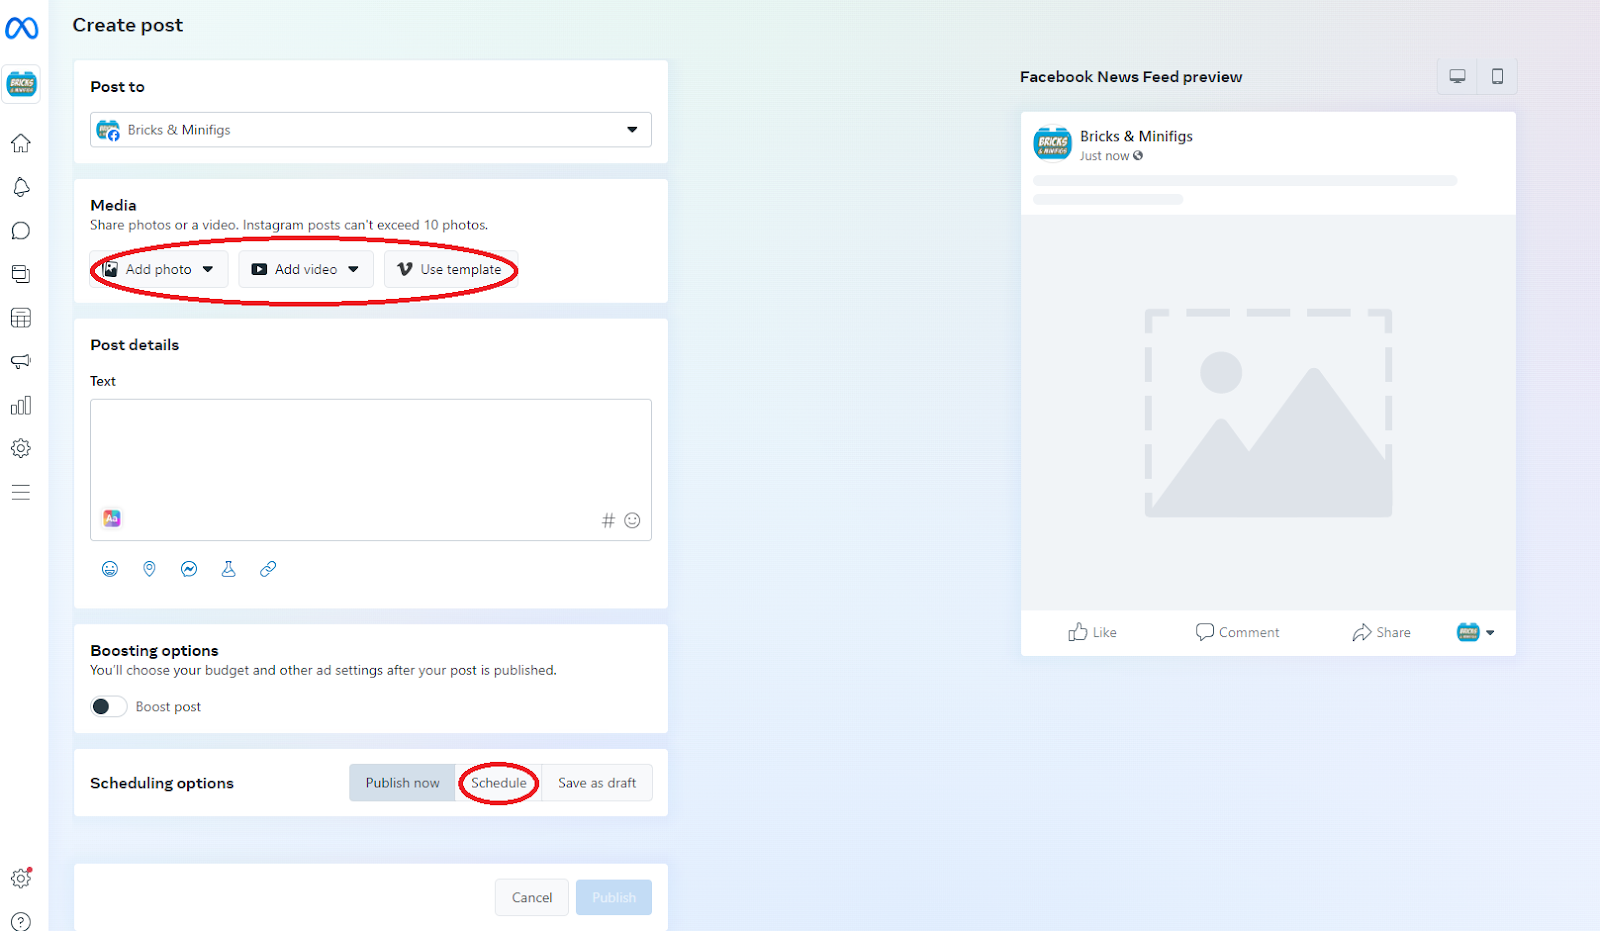
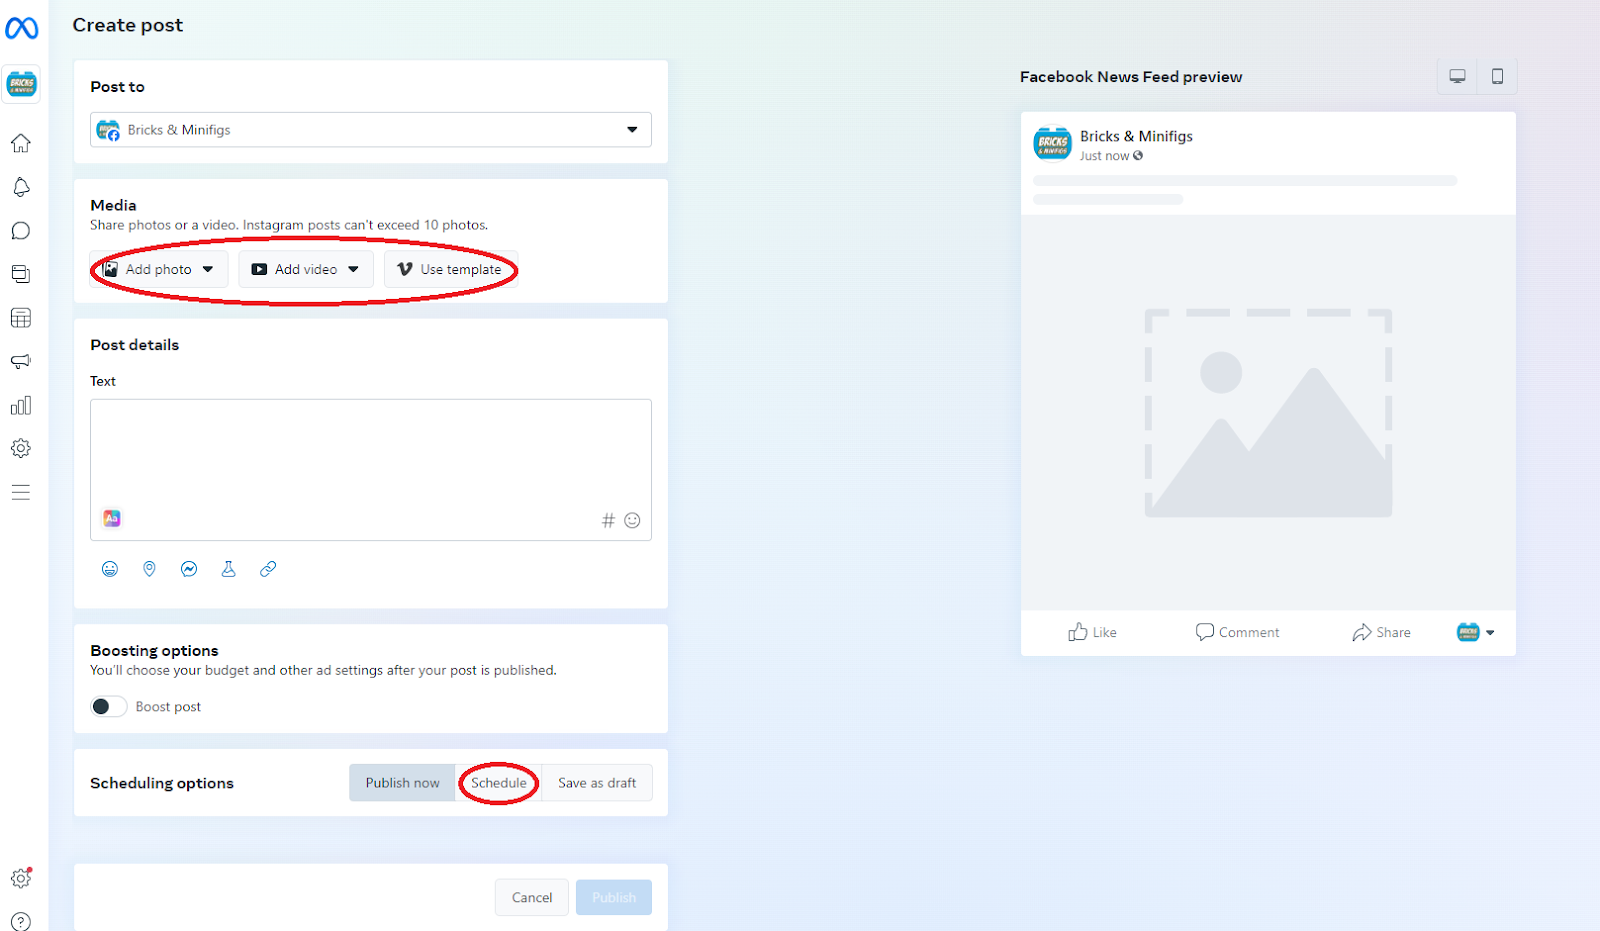
Once you click on create it will then send you to another page where you can add photos, videos, or use template. This is how you will post to your account. You can also set a schedule the time and date of a post you want to come out for the future.
If you are already in the meta Business suite, you can create a post via the create post button.
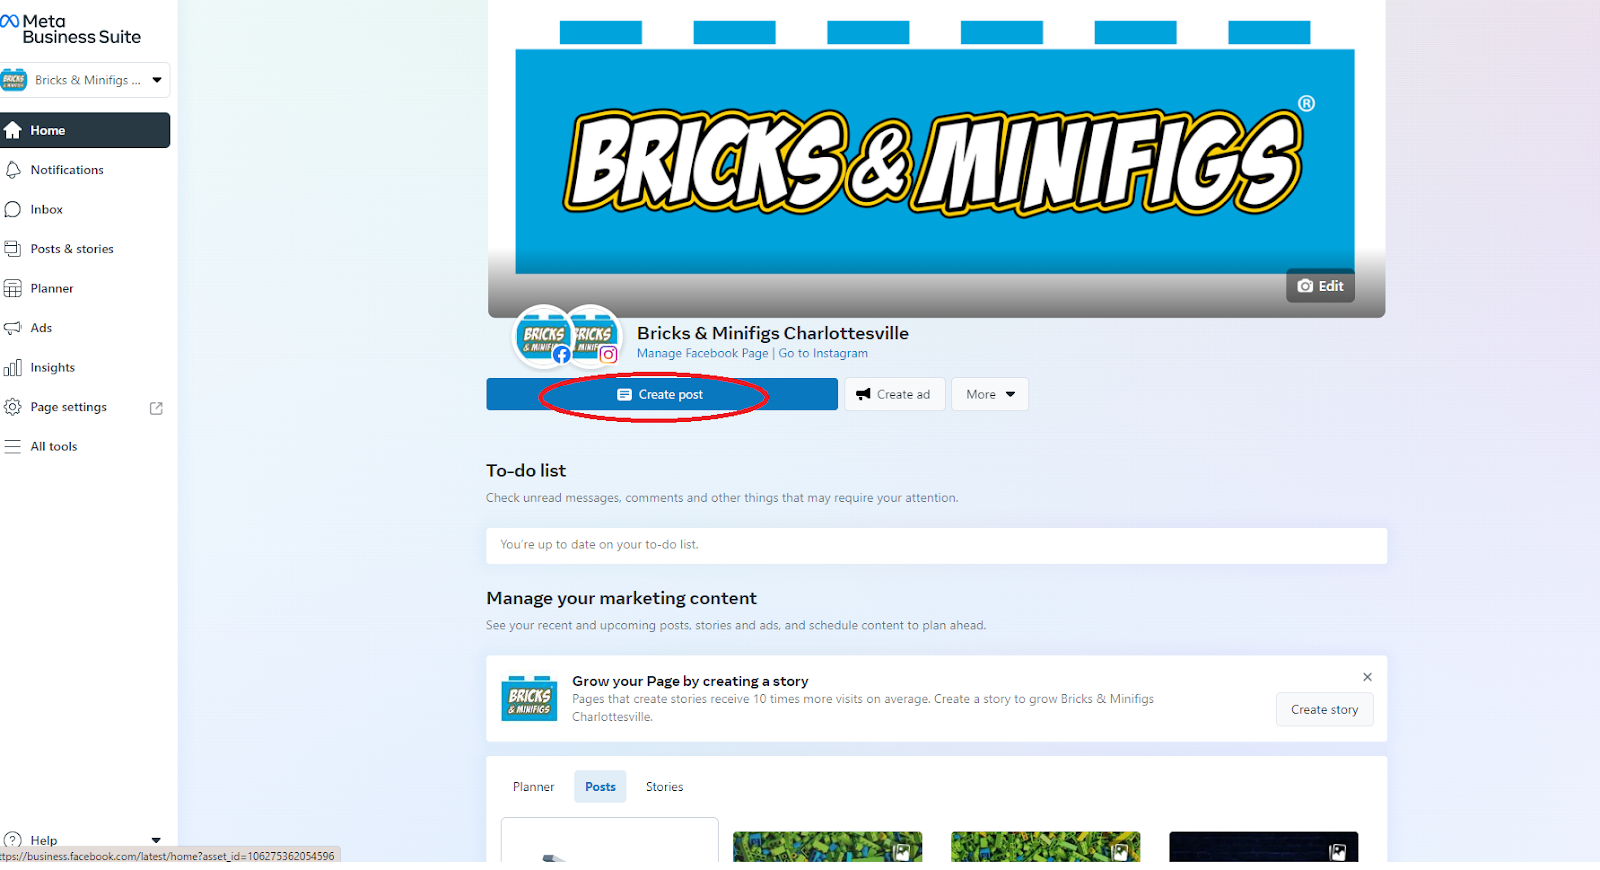
Once you click on create post it will then send you to another page where you can add photos, videos, or use template. This is how you will post to your account. You can also set a schedule the time and date of a post you want to come out for the future.
Going from personal business page to Meta Business Suite
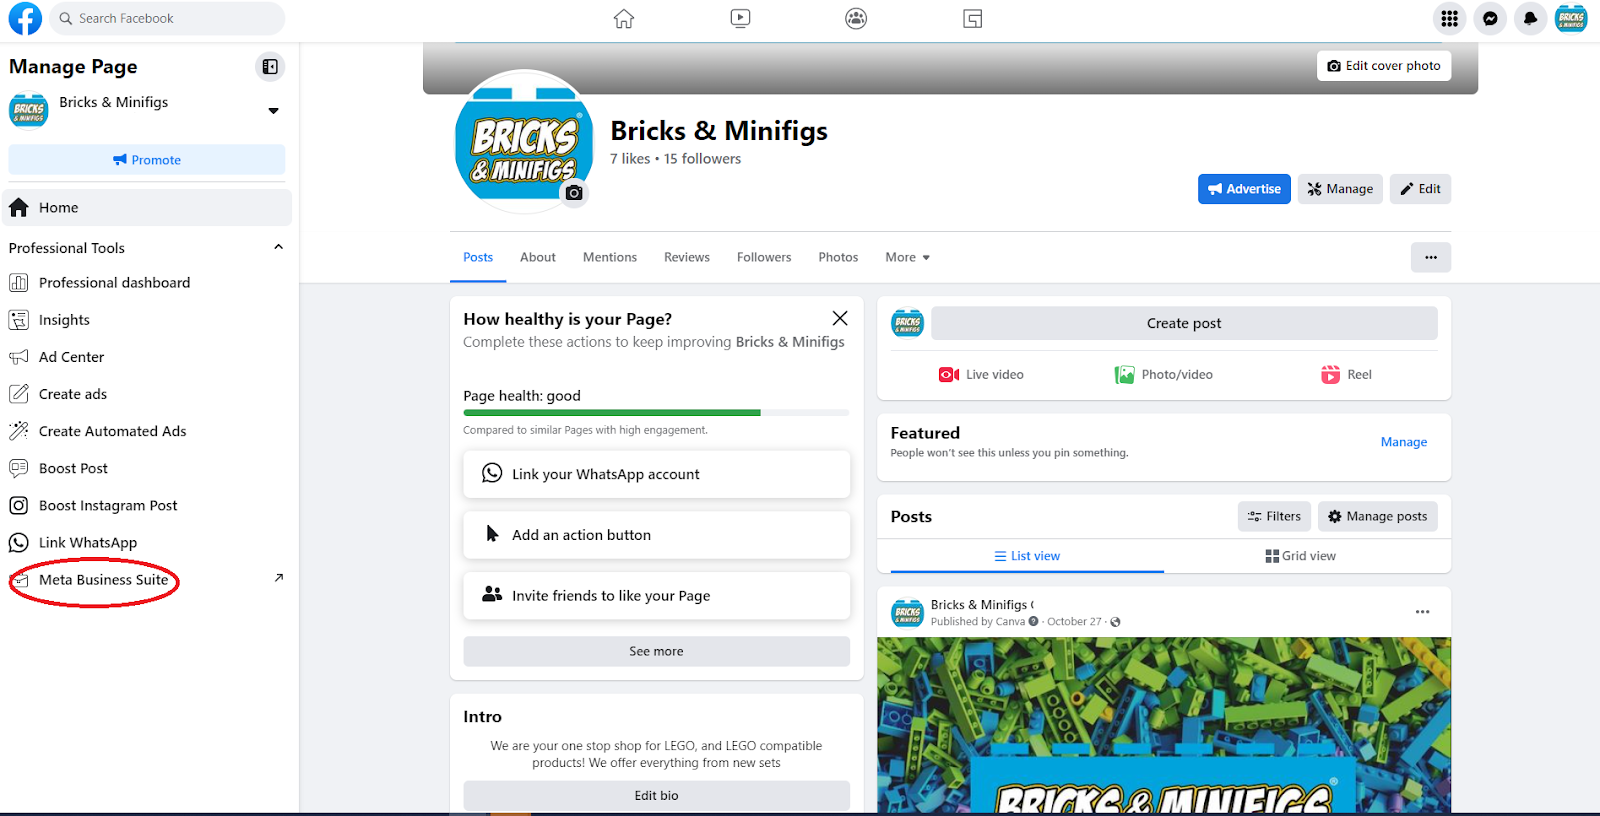
Before you can link your accounts you have to be in the Meta Business Suite. To do this, navigate to your facebook page, and in the tab on the left, click on Meta Business Suite. This will take you to a new page where you can link your accounts, create posts, and change your profile picture or cover photo.
Linking your Instagram Account
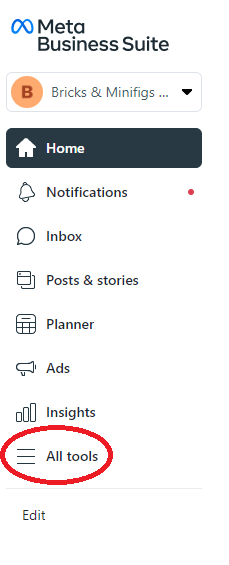
To link your Instagram account you will first click on the ‘All Tools’ section of your sidebar which will show you a variety of options you can use for your account.
We will focus on the ‘Manage’ section. From here you will click on ‘Page Settings’
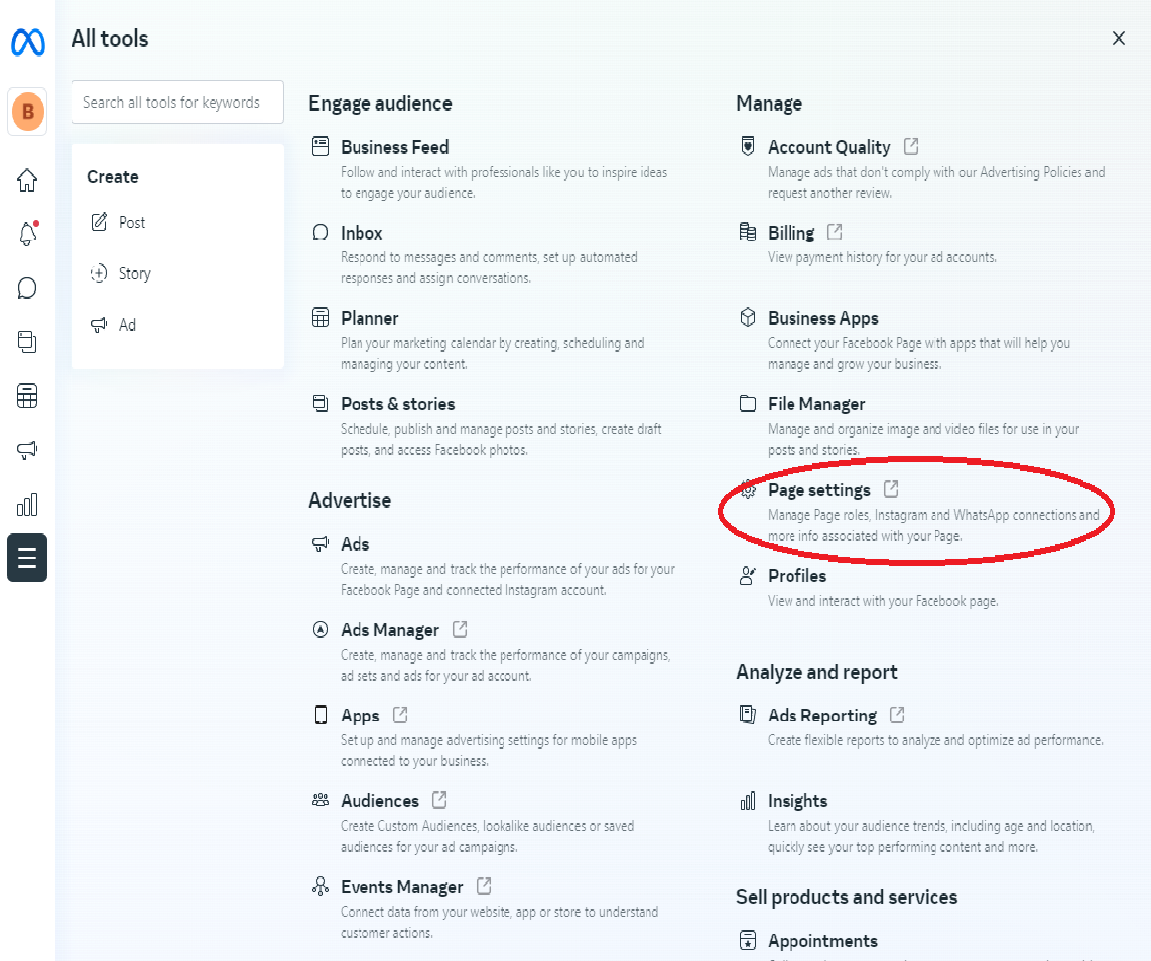
Once you click on this you will see a new sidebar pop up. In this side bar you will see a section labeled ‘Linked Accounts’, click on this section.
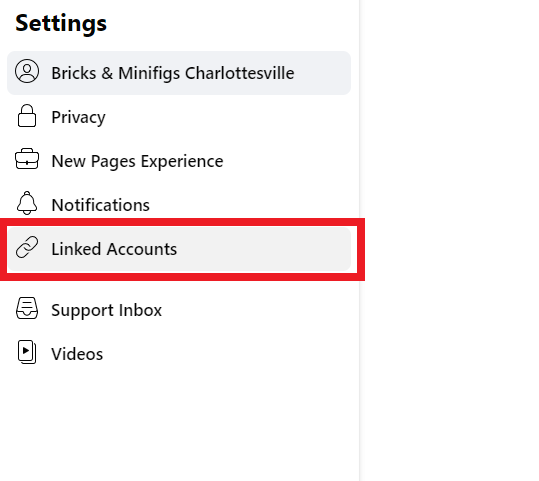
After you click on linked accounts it will take you to a new page that says ‘Connect account’, click on this option.
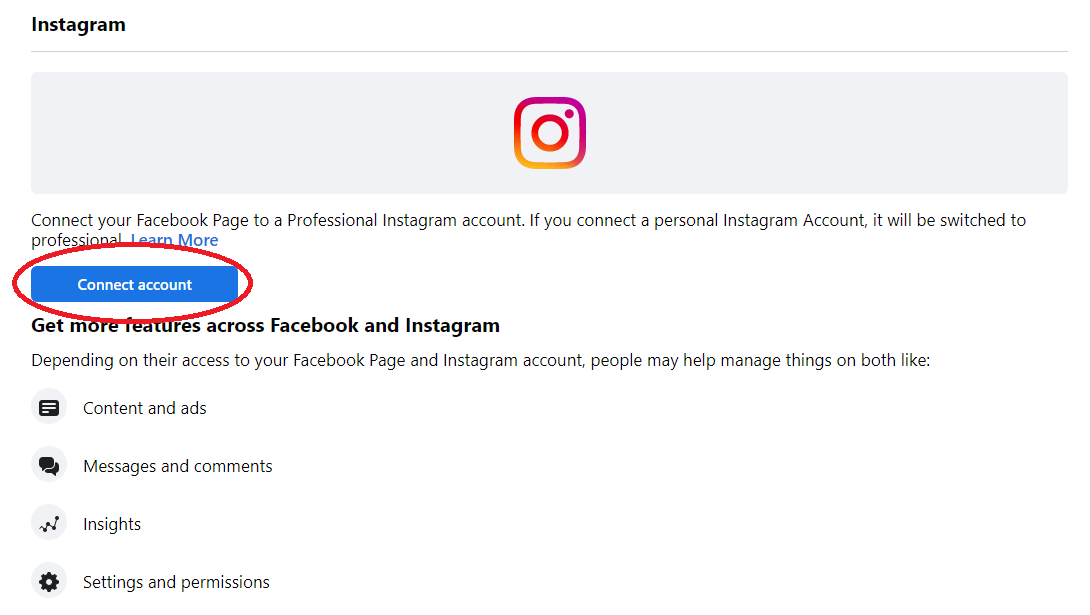
Once you click on this option it will continue to direct you to connecting your accounts.
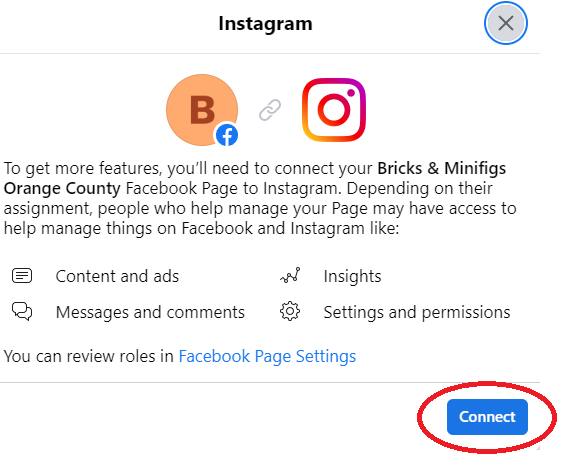
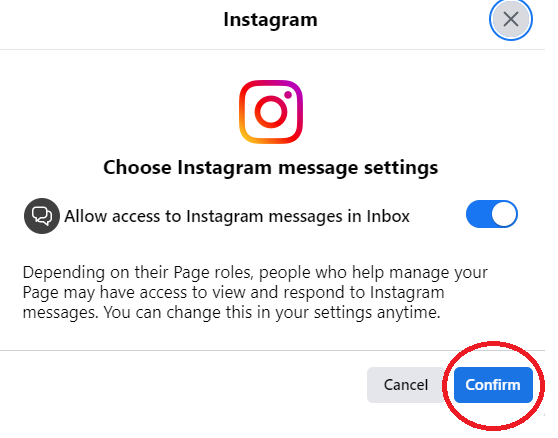
Once you click on this option you will have to input your Instagram information, this will send a request to us at corporate to finalize the account connection. You will need to send us your instagram username and password in Slack for us to finalize the connection.
Adding Managers
Like with connecting Instagram, you first want to click ‘All Tools’ on the side bar on the home page. After that, you will want to click ‘Page Settings’ again too.
Once you do this, click “New Pages Experience”’.
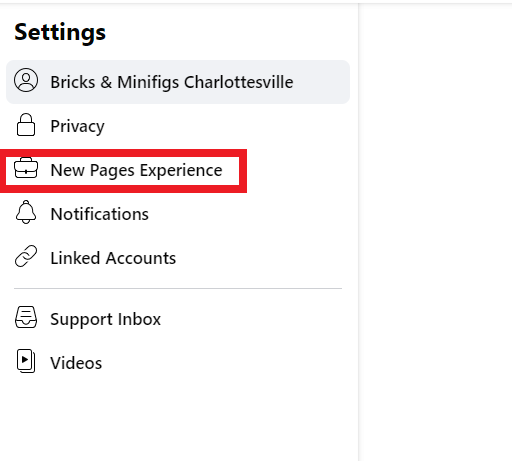
After clicking this, it will show you a new page. On this page you will see a couple of ‘Add New’ links. Clicking on the top one will add admins to your page, the bottom one is more for people like managers who will just be able to post not change any settings. Click on the “Add New” link you want to use. This will pull up a search bar, type the Facebook url for the person you want to add, or you can type in their name and click on their account (Make sure it’s the right individual if you use this method!).
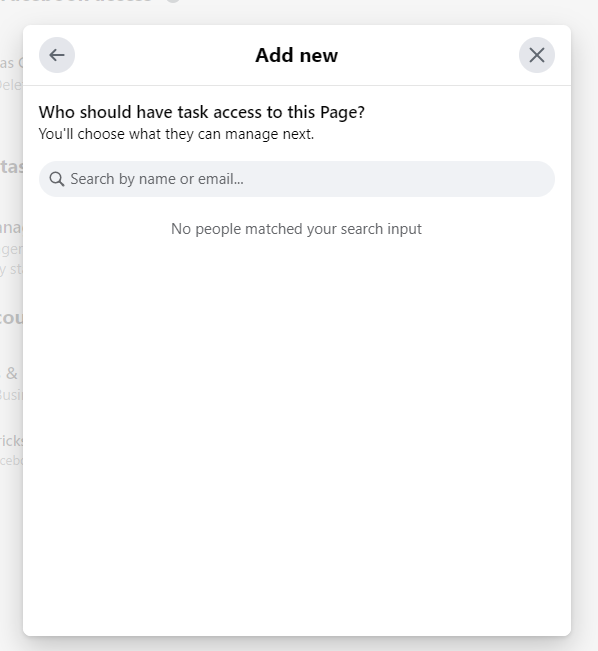
Once you find the correct account you can choose what position/authority they will have over the Facebook and Instagram accounts by clicking the ‘Editor’ button on the side. Once you click on this it will show you a variety of positions and titles for the individual. Each position/title has information on what the individual would have control over underneath the bar. For example, the Content option adds the ability to “Create, manage or delete posts, stories and more as the Page."
Old Page Experience
Accessing your Facebook page
Navigate to Facebook.com

Once you're at your facebook home page, click on the facebook icon in the top right corner. Doing this will bring up a new sidebar. In the sidebar, click on ‘Pages’.
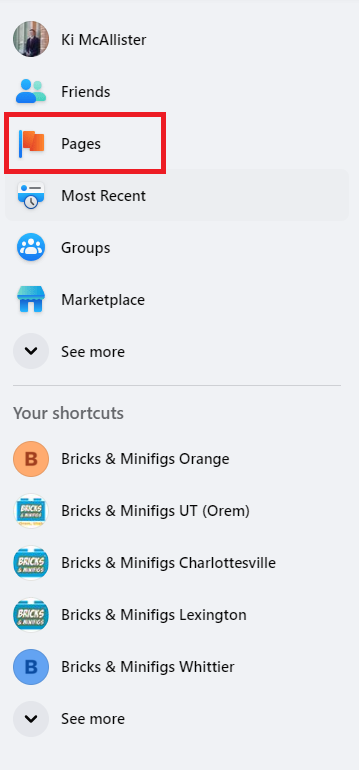
Once you click on pages it will bring up a new sidebar that looks like this;
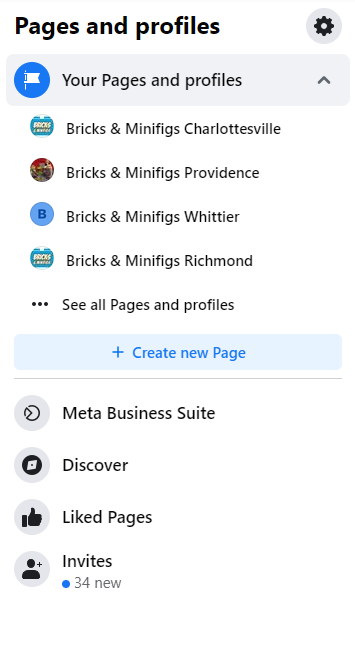
Once this sidebar comes up you can click on your own personal store. Once you do this it will take you to your home page.
When you switch profiles you will be taken to your pages social media feed, for the next few steps we will want to be on your profile setting page. You can access that by clicking the stores profile picture int he top corner and then clicking it again in the popup[ menu. That will direct you to a page that looks somewhat like this: